Creating a grid of pictures is an excellent way to put together a selection of your artworks – either for print or for web use. This tutorial shows you, step-by-step, how to make a photo grid in Photoshop. In particular, you’ll learn how to make a 3×3 collage grid that you can always reuse as a template for more photo collages. And, there’s a Photoshop Grid Collage Template Bundle waiting for you that you can download FOR FREE!
How to create a grid in Photoshop?
A photo grid – just like a photo tile – is an excellent way to showcase a selection of your artworks, for web and for print. On the web, you can post your collage grid on social media platforms or art sites. Creating a vertical photo collage works particularly well to attract views on Pinterest, due to Pinterest’s tall pin dimensions.
As for print, you can use a grid collage to create fine art prints for framing and home décor. Just make sure to use the right file format and resolution when saving digital art for print.
What kind of photo grids can you make?
There are different kinds of grid layouts that you can create in Photoshop. You can make your very unique photo grid – your imagination is the limit!
The most common Photoshop grid layout is probably the 3×3 collage – with 3 square images in a row and altogether three rows. But instead of using square images, you can create an image grid in many different aspect ratios, such as 4 by 3 or 9 by 16.
And instead of always having a collage grid with sharp edges, you can show your photos with round corners for a change!
Below you see some examples of photo grids that you can make in Photoshop. Feel free to click on the images for a larger view.
How do you make a 3x3 grid in Photoshop?
What you see below is a 3×3 image grid with a collage of nine square photos in an aspect ratio of 1:1. And in this tutorial, I’ll be showing you exactly, step-by-step, how to make such a photo grid in Photoshop!
By the end of the tutorial, you will have made your own photo collage that you can save as a template and use over and over again!
Get your FREE Grid Collage Template
Also, there’s a NICE LITTLE GOODIE waiting for you. I’ve created 6 Photoshop Grid Collage Templates for you that you can download FOR FREE from the Freebie Library to make your very own photo collages.
All templates feature a transparent grid. You just need to drag and drop your pictures into it!
But without further ado now, let’s get started with today’s tutorial on how to make a photo grid in Photoshop!
To make a photo grid in Photoshop, these are the 5 steps you'll need to follow:
How to make a photo grid in Photoshop
STEP 1: Create a new Photoshop document
How to make a 3x3 collage in Photoshop?
If you want to make a 3×3 grid in Photoshop with square images, you typically need a square canvas.
So, let’s first of all create a new Photoshop document by clicking on File > New in the top menu bar. Enter the desired dimensions (e.g. 1000 x 1000 pixels) and choose a resolution that is adequate for your purpose – web use or print.
Once you’re done, just hit OK!
STEP 2: Add a Solid Color adjustment layer
How to start the Photoshop grid collage template?
Now we start our Photoshop grid collage template by adding a Solid Color Adjustment Layer.
In the top menu bar, go to Layer > New Fill Layer > Solid Color.
Alternatively, you can also click on the little ‘Create new fill or adjustment layer’ icon at the bottom of your Layers Panel and select Solid Color.
Either way, you’ll be brought to Photoshop’s Color Picker dialog box where you can choose a color for the frame of your photo grid.
For the example, I’ll go ahead and choose a white color.
By quickly glancing over to your Layers Panel, you’ll see that you now have two layers – the background layer and the adjustment layer.
For the following steps, it’s good to have a sufficient amount of contrast between background and adjustment layer.
My background was originally white, as was my adjustment layer. That’s why I’ve inverted the background to black by pressing CMD + i (CRTL + i on a PC).
You can also invert a layer by clicking on Image > Adjustments > Invert in the top menu bar.
STEP 3: Use the auto grid maker to add a transparent grid aid
Does Photoshop have a grid maker?
To create the collage template, we’re going to make use of Photoshop’s grid maker.
Sure, the grid maker will not create a collage grid for you on auto-pilot… But I’ll be showing you how to make a transparent grid in Photoshop that’ll help you get things straight and nice in your photo grid!
To activate Photoshop’s grid function, click on View > Show > Grid in the top menu bar.
As soon as Grid is ticked, you’ll see transparent grid lines covering your canvas.
These lines will be a tremendous help to cut out perfectly square shapes, right now in Step 4!
STEP 4: Use the Rectangular Marquee Tool to create the photo grid
How do I create a grid in Photoshop?
In Step 4 of our tutorial on how to make a photo grid in Photoshop, we’re going to create the actual grid.
Now that we have the transparent guides on top of the canvas, it’s very easy to cut out perfectly aligned square shapes. To create the square cutouts, we’re going to use the Rectangular Marquee Tool and work on the layer mask of the Solid Color Adjustment Layer that we’ve added in Step 2.
First of all, make sure that the layer mask of the Solid Color Adjustment Layer is selected on your Layers Panel. Simply click on the mask to make it active. As soon as the mask is active, you’ll see white corners around the thumbnail on the Layers Panel.
Now you can pick the Rectangular Marquee Tool from the Toolbar. Take a look at the grid and decide what size you want your cutouts to be.
For the example, I chose to make my cutouts 5 x 5 squares as indicated on the grid aid.
Then start at the upper left corner and drag the Rectangular Marquee Tool down to the right bottom corner. To get a perfect square, hold the Shift key while making the selection.
Remember that on a mask, White hides and Black reveals… We want our cutouts to be transparent, so that they later on ‘reveal‘ the photos that we’re going to drag into the grid. That’s why you need to fill every square that you draw on the adjustment layer mask with black color.
So, once you’ve marked your square with the Marquee Tool, click on Edit > Fill in the top menu bar, choose Black to fill the selection, and hit OK!
You can also use the Paint Bucket Tool and ‘pour‘ black color into the selection – that’ll have the same result!
As soon as you’ve done that, you’ll immediately see the background below the Solid Color Adjustment Layer. (That’s why I recommended using a different background color.)
Now just repeat the process until you have enough square cutouts on your photo grid – i.e. nine, if you want to make a 3×3 grid collage in Photoshop… 😆
STEP 5: Import the images for the photo collage grid
How to make a photo collage in Photoshop?
Now everything is ready to finally add the photos into our grid collage template.
To save ourselves the time of opening each of the nine pictures one by one, we’re going to import all images for the photo collage grid at the same time.
Photoshop’s File Stack Loader makes it super-easy to load multiple images simultaneously!
To open the File Stack Loader, go to File > Scripts > Load Files into Stack in the top menu bar.
This will bring up the Load Layers dialog box, where you can click on Browse to select the images for your grid. Hold the Shift key to select multiple images in a row, and the Command (CMD) key on a Mac or Control (CTRL) key on a PC to choose images that are not in a row.
Once you’ve made your selection, you’ll see all images listed in the box, and you’re good to hit OK to import the pictures!
Move the adjustment layer on top of the images that you’ve just imported. Then you can start arranging your images in the grid as you please.
Scale the photos down or up to make them fit nicely into the cutouts. And be sure to always choose the best part of each image to show within the square!
… and that was it! You’ve just learned how to make a photo grid in Photoshop!
Photoshop grid collage template bundle – FREE download
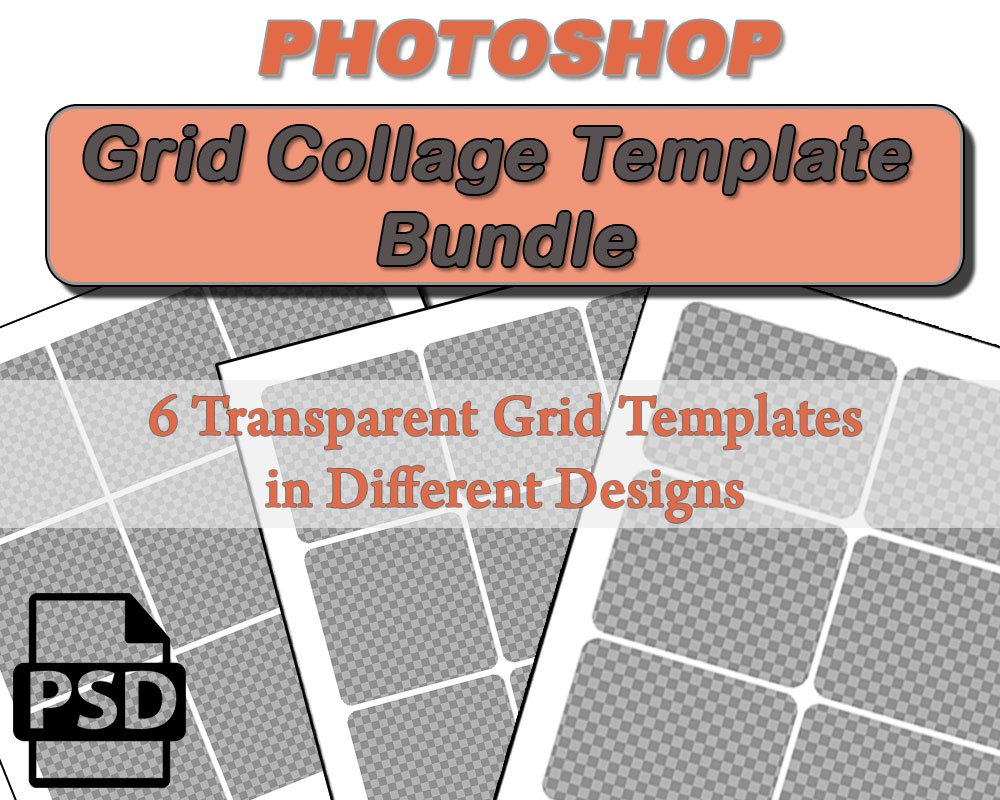
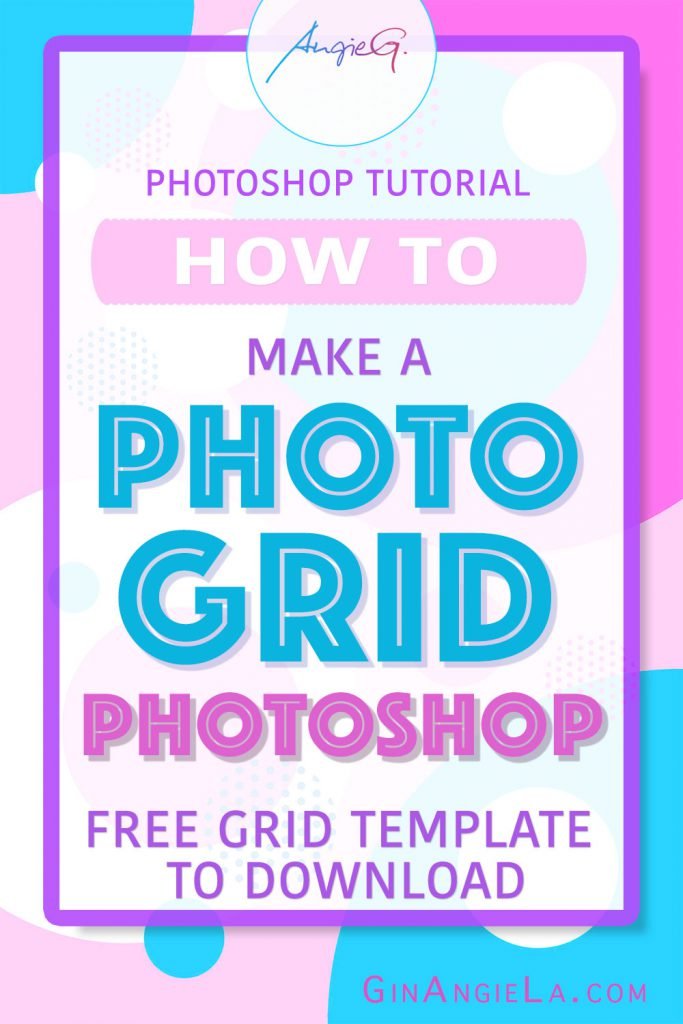
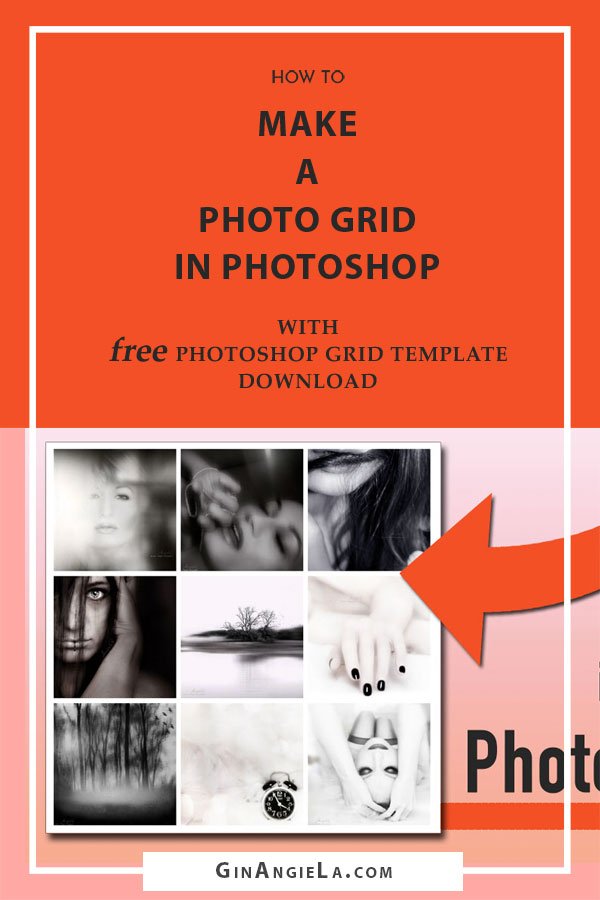
As I promised above, you can download the FREE Photoshop Grid Collage Template Bundle from the Freebie Library.
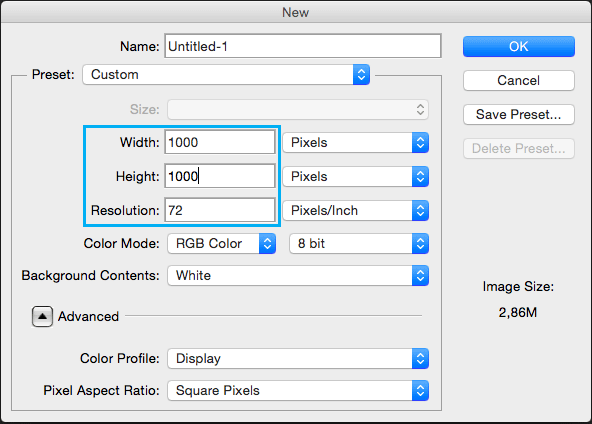
The template bundle includes altogether 6 grid templates with different layouts and designs: 1x template with 1:1 images and sharp corners, 1x template with 1:1 images and rounded corners, 1x template with 4:3 images and sharp corners, 1x template with 4:3 images and rounded corners, 1x template with 9:16 images and sharp corners, and 1x template with 9:16 images and rounded corners.
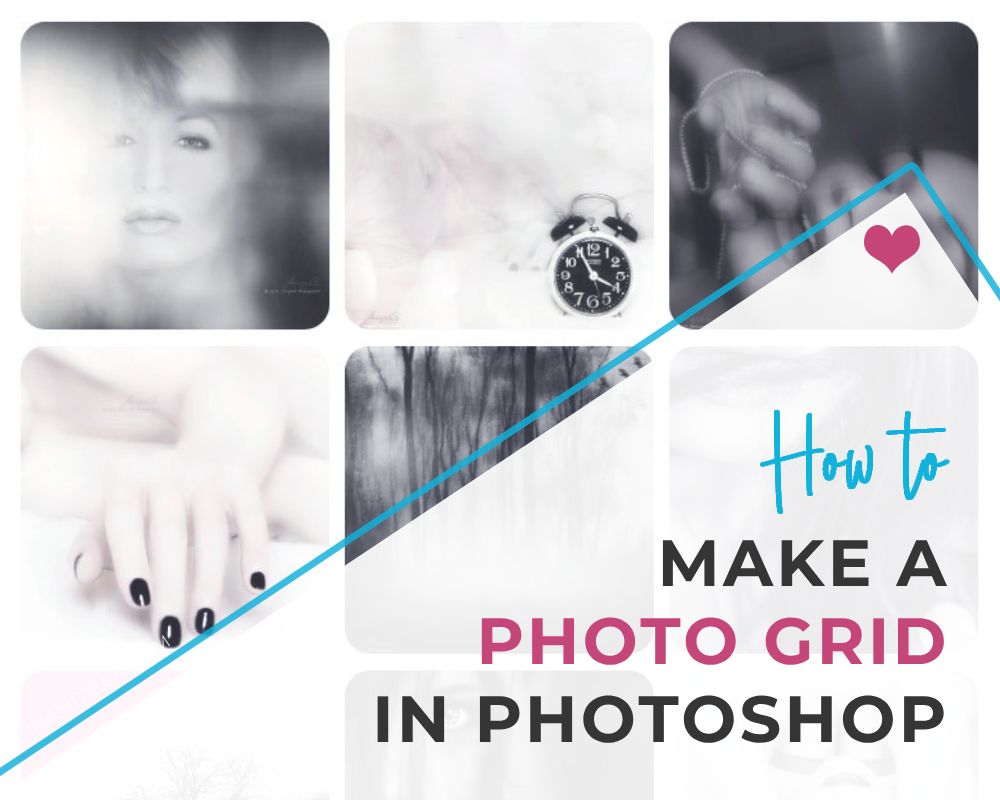
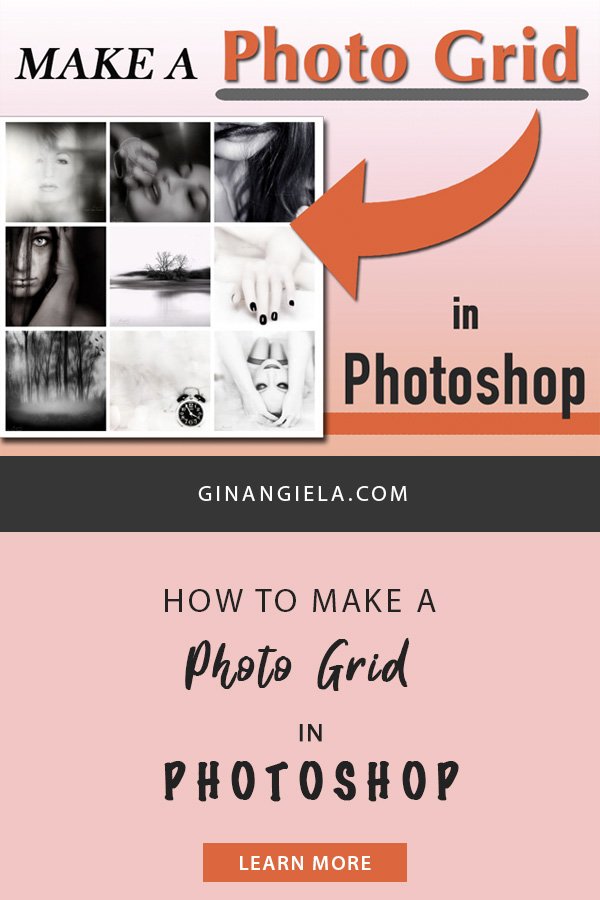
All that remains to do for you is choose a template, drag your images into the template, and arrange them to your liking!
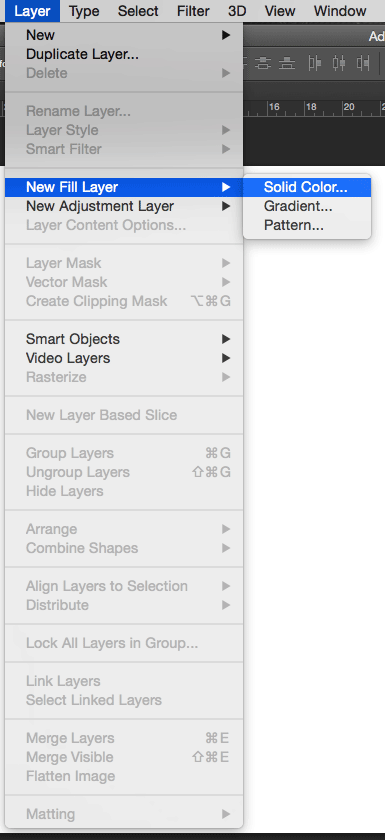
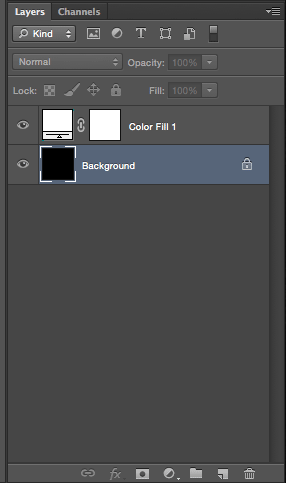
All templates are scalable without losing any quality because the grids are on Solid Color Adjustment Layers. That means it’s super-easy for you to change canvas size and frame color to your exact preferences – without running into any problem!
I wish you lots of fun with the grid templates!
∗∗∗
I hope that this tutorial on how to make a grid in Photoshop was helpful. If you found any value in it, please feel free to share it with other artists so they can also learn from it!
If you are using anything of what I’ve showed you in this post, don’t forget to tag me on Instagram @ginangiela, or post a link here in the comments. I’d love to see your creations! Make sure to sign up for my email list below so you don’t miss out on new Photoshop tutorials, perks for subscribers and other cool stuff. ♥