Step-By-Step Digital Art For Beginners: How To Get Started [2025]


GinAngieLa.com independently selects and reviews products & services. When you purchase through links on our site, we may earn a commission, at no extra cost to you. Learn more.

How can a beginner start digital art? This step-by-step digital art for beginners guide shows you what you need to get started, which programs you can use, and how to go about learning the ins and outs of making digital art! Worry not, it’s not that hard at all! The good thing is that you can directly learn digital art, without having to go to art school or attending courses. So let’s get into it!

Step-by-step digital art for beginners

How can a beginner start digital art?

Do you want to begin making digital art but don’t know where to start? Then this is the right post for you!

In this article, I will show you step-by-step how you can get started with digital art as a beginner. I’ll speak about the hardware and the software that you need and explain how you can directly learn digital art.

The great news is that digital art doesn’t have to be expensive. In this step-by-step digital art for beginners guide, I will suggest both some very affordable options in terms of hardware and software (even some free alternatives) and some more advanced tools for when you are ready to take your art to the next level.

Let’s get into it!

Step-By-Step Digital Art For Beginners: Hardware

What are the basics of digital art?

First thing you’ll need when you want to get started with digital art is a tablet. There are three main options:

1. Drawing tablet

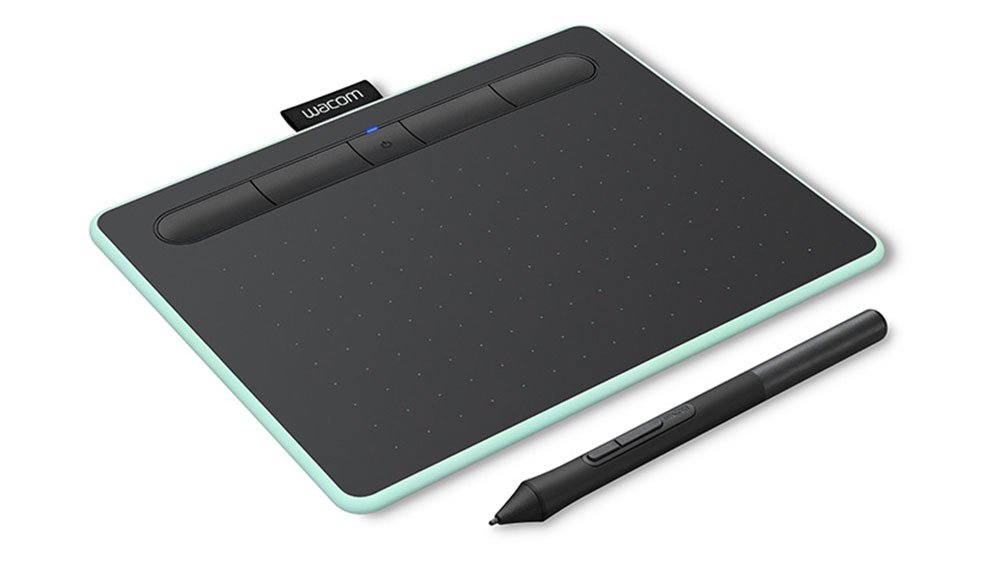
Wacom Intuos Small (S) is ideal for beginners and first-time graphic tablet users
Wacom Intuos
(~US$50)

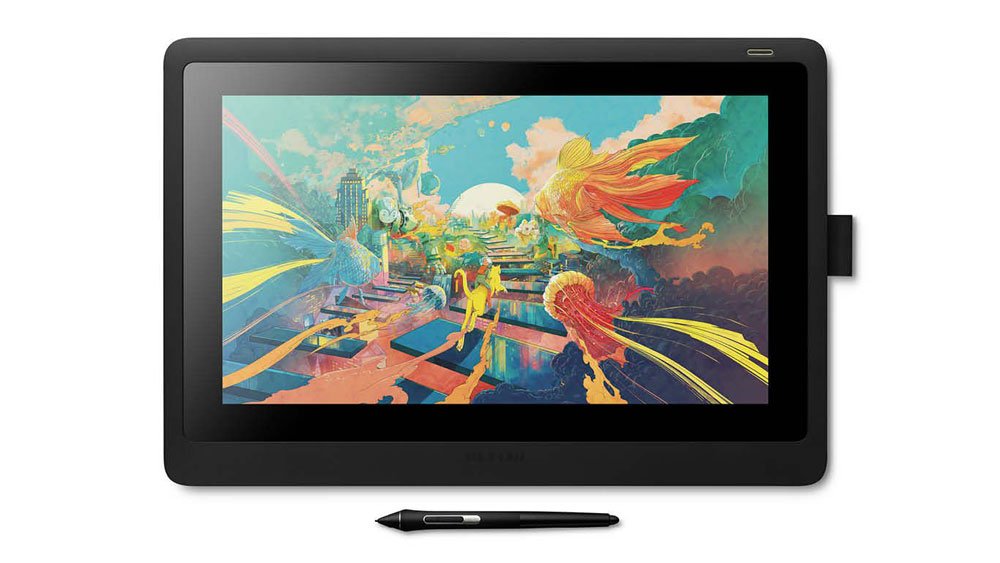
2. Display tablet

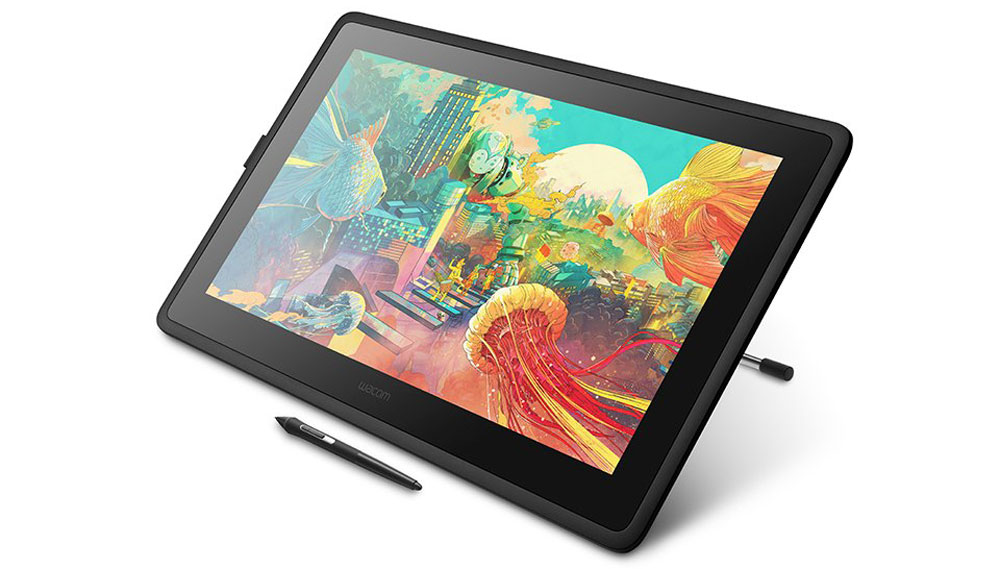
Is Wacom Cintiq 22 touch screen?
Wacom Cintiq 16
(~US$650)

3. All-in-one tablet

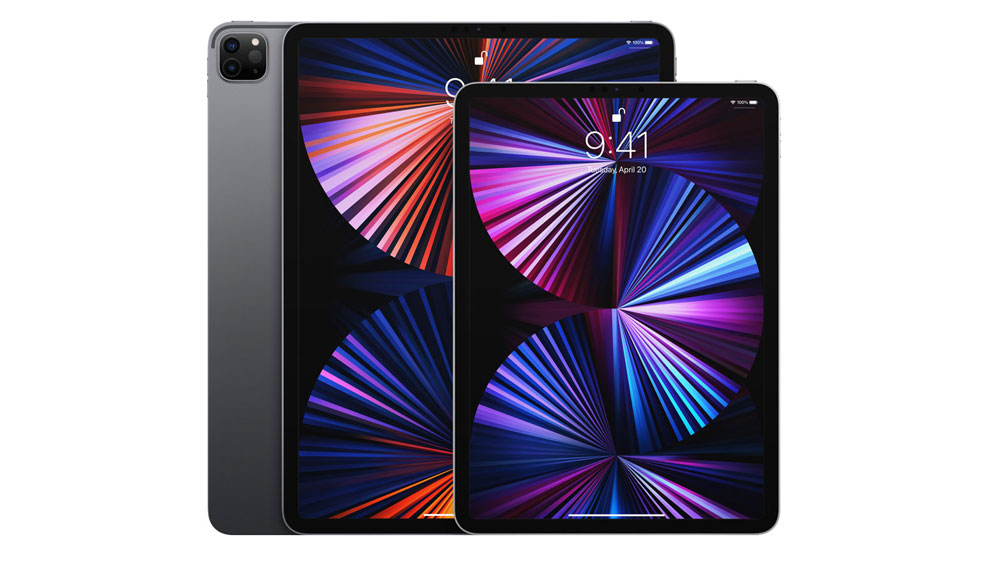
iPad Pro
iPad Pro (11-inch)
(~US$800)

1. Drawing Tablet

A drawing tablet needs to be attached to your PC or laptop and works a bit like a drawing board. You can draw on the surface of the tablet using a special stylus and the strokes will appear on your digital canvas.

The surface of the tablet mirrors your screen. When you move your stylus across the surface in the upper right corner, you will find your cursor moving across in the upper right corner of your screen.

Since you draw on the tablet, while looking up at your computer screen, this way of working takes a bit of time getting used to.

However, drawing tablets are very affordable. You can get a decent tablet for around 50 -100 US$. When getting started with digital art, I recommend getting a tablet of at least A5 size, which is about 5.8′′ x 8.3′′.

Wacom tablets are the gold standard in the industry. They provide high and sturdy quality and will last for many, many years. Wacom’s entry-level tablets are fairly inexpensive. For example, you can get the One by Wacom for around US$50 and the Wacom Intuos for around US$75.

Learn more: Wacom For Beginners: Which Wacom Tablet Is Best For Beginners?

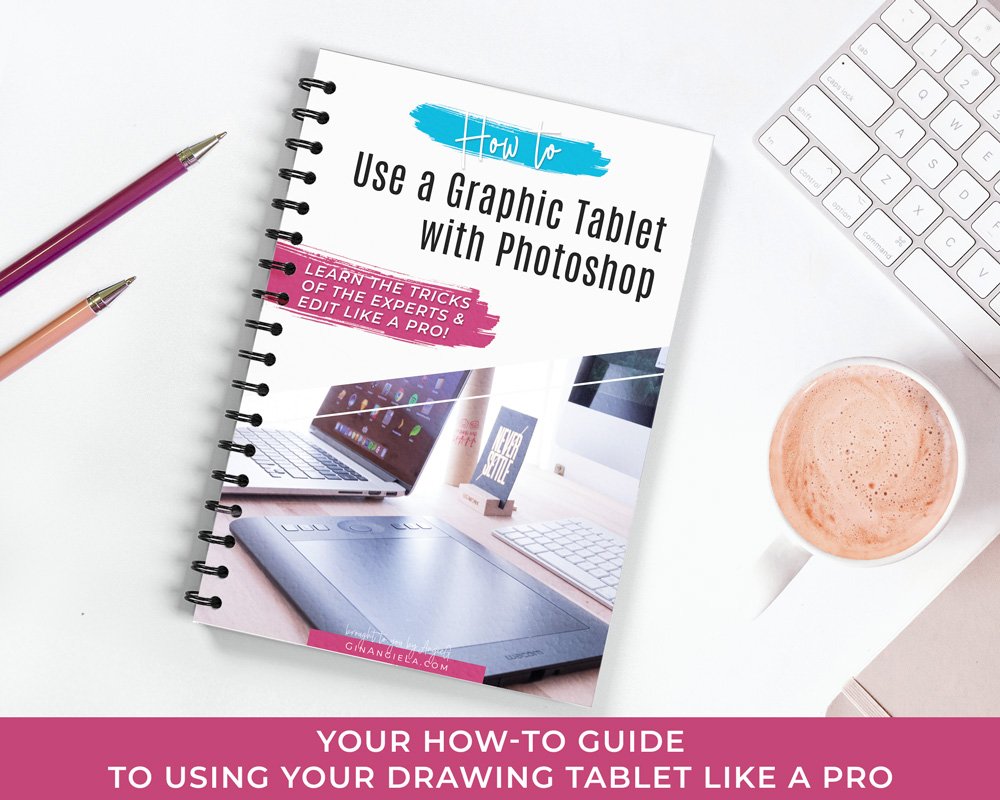
Free Download: How to Use a Graphic Tablet with Photoshop –
Subscribe to get access to the Freebie Library and download your eGuide on learning how to use a graphic tablet with Photoshop!
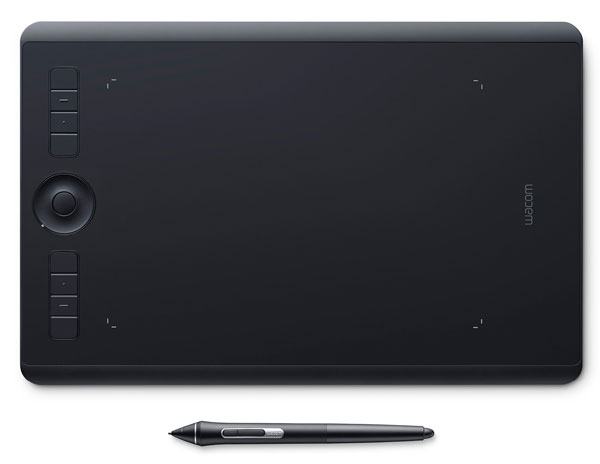
Wacom Intuos Pro Medium
Best Wacom tablet to use with Photoshop overall
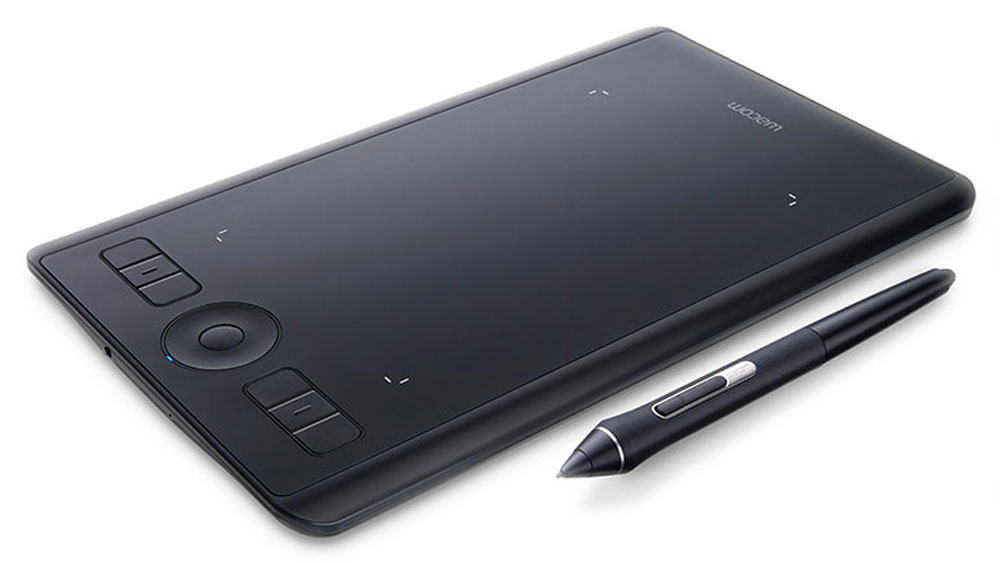
Wacom Intuos Pro Small
The Wacom Intuos Pro Small is the best graphics tablet for professionals who don't need lots of drawing space and don't want to compromise quality for size.
Wacom Intuos Small
Wacom Intuos Small (S) is ideal for beginners and first-time graphic tablet users
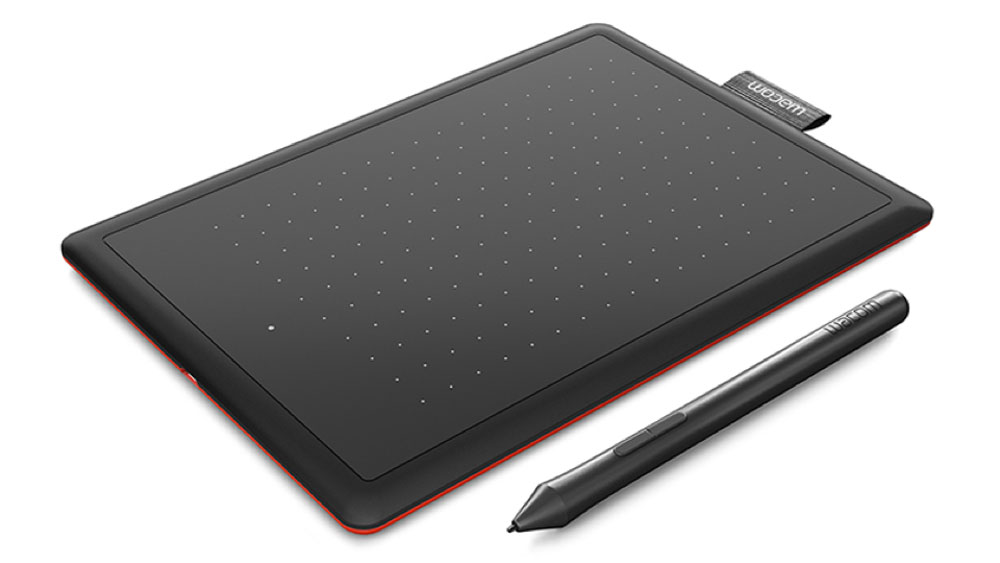
One by Wacom
The One by Wacom pen tablet is an excellent graphic drawing tablet for beginners.

2. Display Tablet

If you want to make step-by-step digital art for beginners but want to have a more intuitive experience than a drawing tablet can offer, then a display tablet might be the better option for you.

Display tablets are more expensive than screenless drawing tablets, but you draw directly on the screen. This is probably the most natural way of creating digital art because it brings you the closest to working with a pen and paper.

Display tablets mainly differ in the size of the screen and the technology used. When choosing a display tablet, select a size that is convenient to you. An A4 size might be a good option. The bigger the screen, the sharper the image and the less you’ll need to zoom in to work on the details. The tablet shouldn’t be too large either, so you can easily fit it on your desk and maybe randomly work on it in your lap.

Another thing to consider is the screen technology. Cheaper models tend to come without a bonded display, meaning you will have a stronger parallax effect. The parallax effect describes the little gap that you will see between the tip of the pen and the cursor on the display. High-end models have virtually no parallax effect.

Learn more: What Is The Difference Between Cintiq And Cintiq Pro?

Wacom Cintiq 16
Cintiq 16 Creative Drawing Pen Tablet – Is the Wacom Cintiq 16 worth it?
Wacom Cintiq 22
Is Wacom Cintiq 22 touch screen?
Wacom Cintiq Pro 24
Wacom Cintiq Pro 24 Creative Pen Display
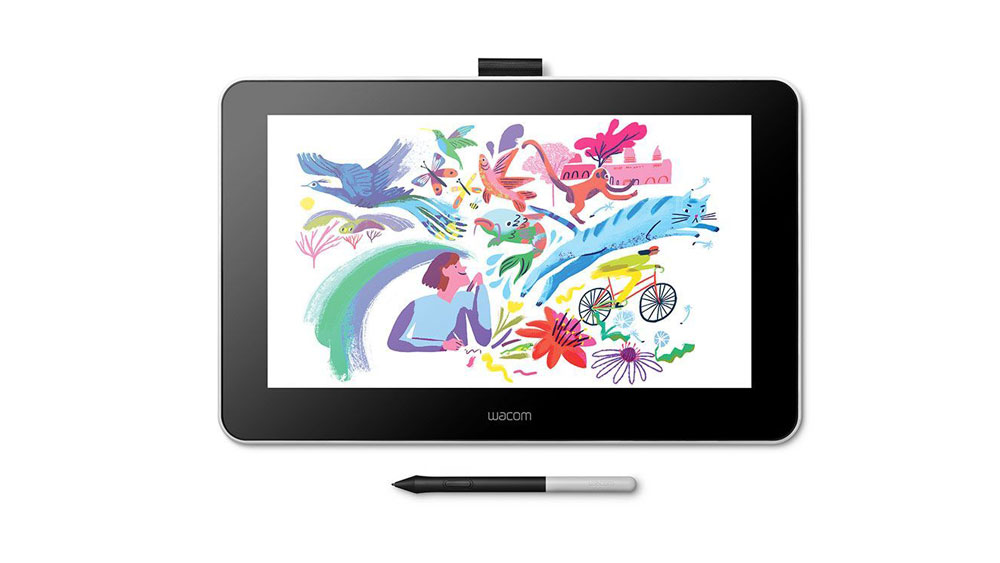
Wacom One
The Wacom One 13 Graphic Tablet with Stylus is the best entry-level drawing tablet with screen.

3. All-in-One Tablet

The third option in terms of hardware in our step-by-step digital art for beginners guide is an all-in-one tablet.

An all-in-one tablet can run full software packages like Photoshop and other editing apps. The great thing about all-in-one tablets is that you can take them anywhere and create art on the go. You could draw on a train ride, when you travel on the airplane, in a hammock, or on your couch.

All-in-one tablets are, for example, the iPad (Pro), Microsoft Surface Pro, Samsung Galaxy Tab, and the Wacom MobileStudio Pro that is tailored to digital artists.

Just like with a display tablet, you can work directly on-screen which provides you with the most natural drawing experience digital technology possibly can.

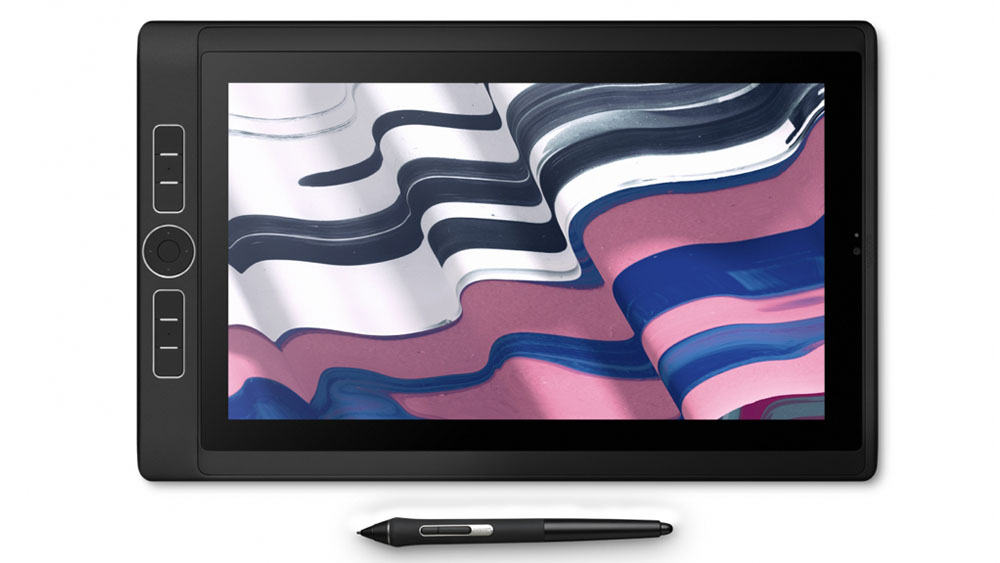
Wacom MobileStudio Pro
Wacom MobileStudio Pro 13 Creative Pen Computer
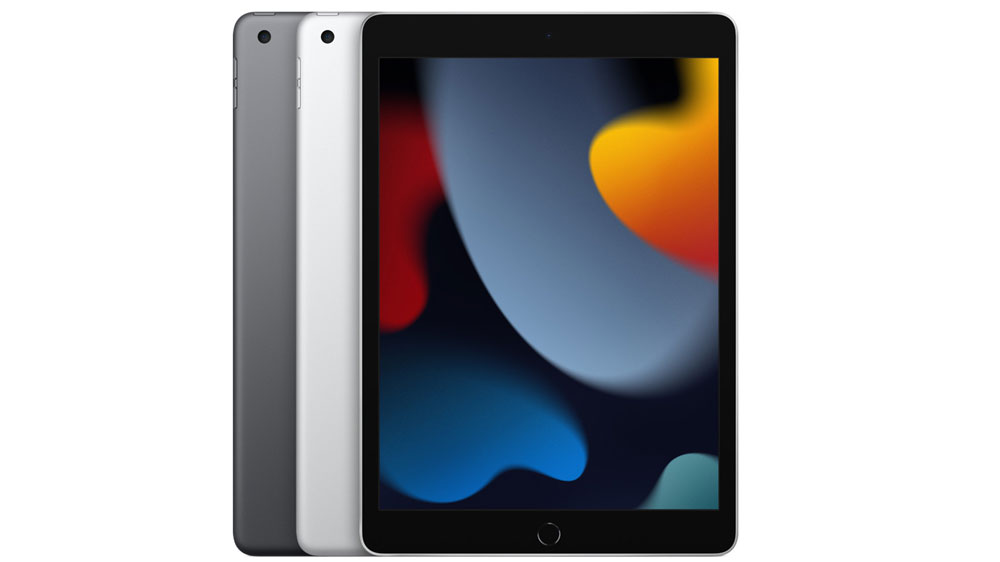
Apple iPad (10.2-inch)
Apple iPad 10.2-inch
Apple iPad Pro (11-inch)
iPad Pro
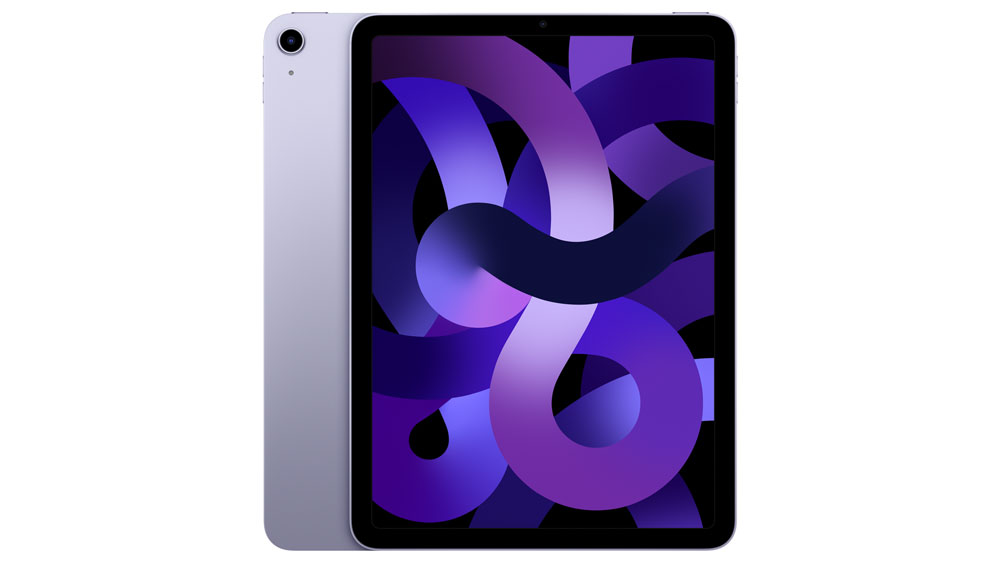
Apple iPad Air (10.9-inch)
Apple iPad Air 10.9-inch
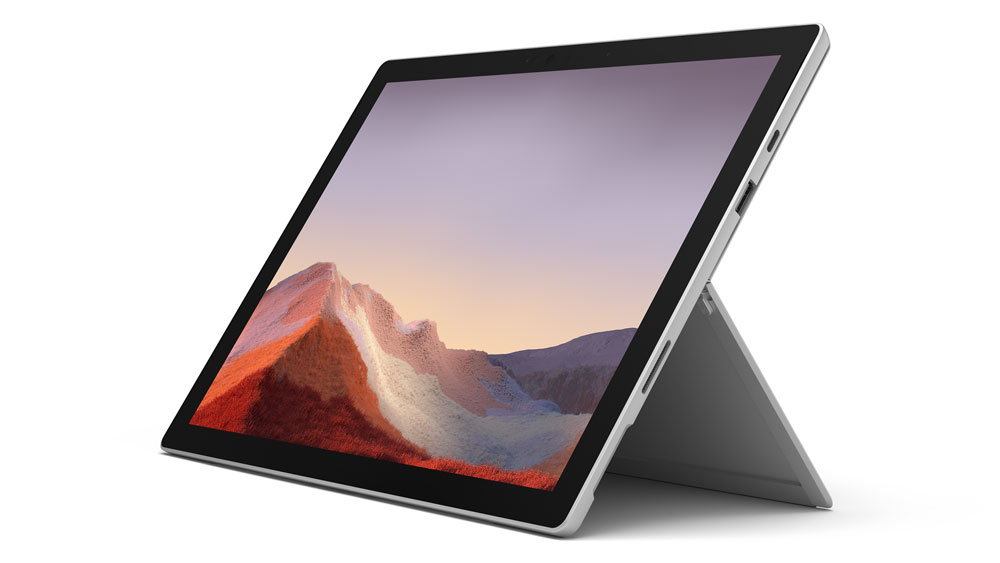
Microsoft Surface Pro 7
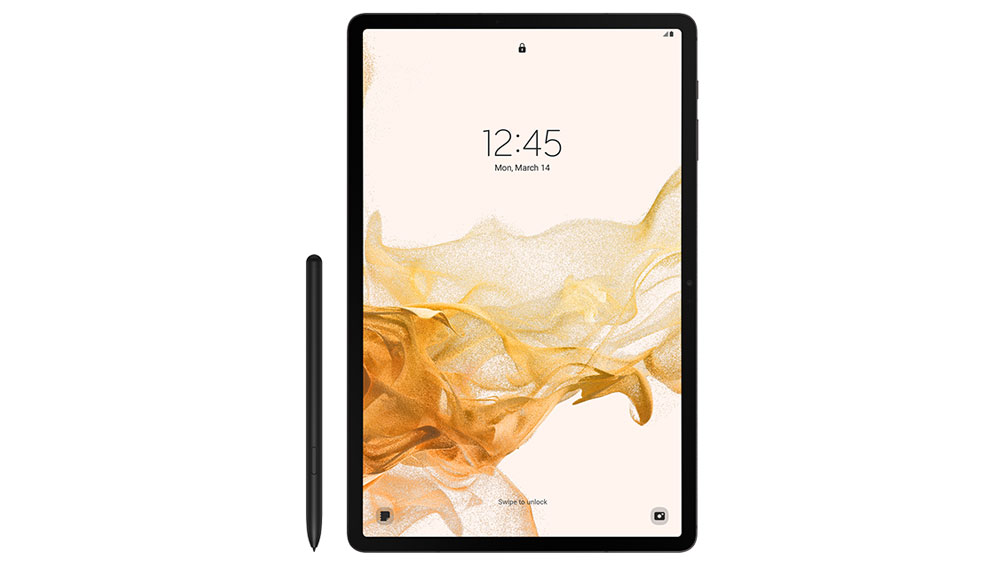
Samsung Galaxy Tab S8

4. Stylus

The second essential thing you need to make digital art alongside a tablet is a stylus. Of course, you could use your fingers to draw, but that’s not very comfortable and not very precise. 

Generally speaking, there are three different types of pens. There are special creative pens for drawing tablets, Apple Pencils for iPads, and pens for Android tablets such as the Surface Pen.

Wacom Pen

Pro Pen & Replacement Nibs

Wacom Pro Pen 2
(~US$85)

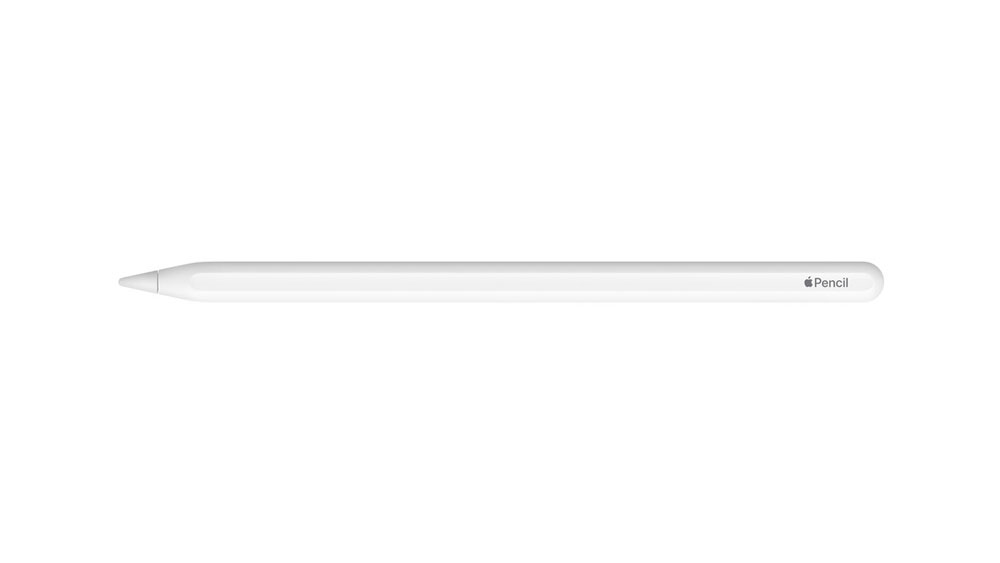
Apple Pencil

Apple Pencil 2

Apple Pencil 2
(~US$129)

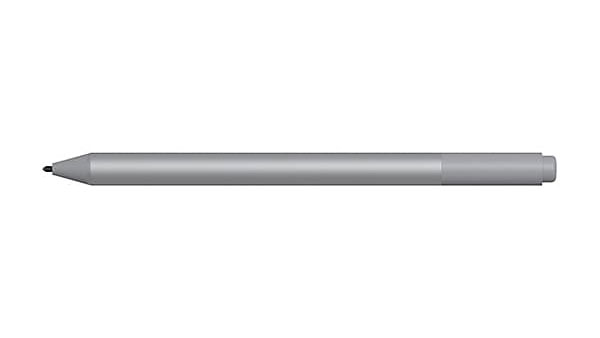
Surface Pen

Surface Pen

Surface Pen
(~US$65)

If you purchase a drawing tablet (with or without display), you will always receive a stylus included in the package. The pen is also included with the Wacom MobileStudio Pro.

If you purchase a regular tablet, however, you’ll need to buy a stylus separately.

One important thing to look out for in a stylus is pressure sensitivity. A stylus with pressure sensitivity will provide a much more natural feel when drawing.

The best styluses currently feature up to 8,200 levels of pressure sensitivity and also come with tilt recognition (e.g. the Wacom Pro Pen 2).

There are numerous creative styluses in the market. Some have an eraser at the end, some have two or more side switches. You will also find styluses that are tailored to different kinds of digital editing needs, for example, airbrush pens, art pens, ballpoint pens, and so on.

So when you choose a stylus, you need to make sure that it is compatible with your drawing tablet. To get an idea of the available Wacom pens and their compatibility, check out our post about Wacom Pen Compatibility & Replacement Pens.

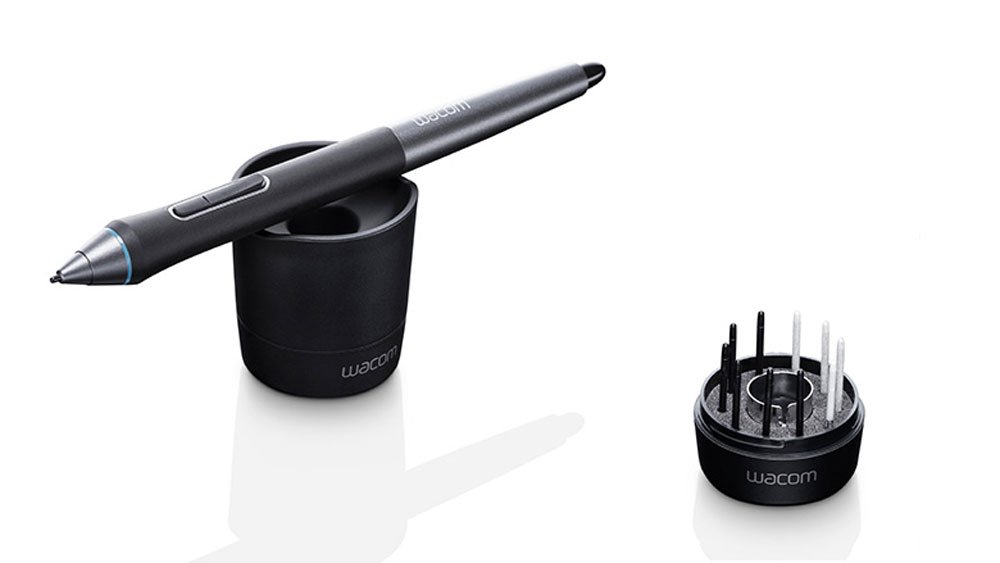
Wacom Pro Pen 2
Pro Pen & Replacement Nibs
Apple Pencil 2
Apple Pencil 2
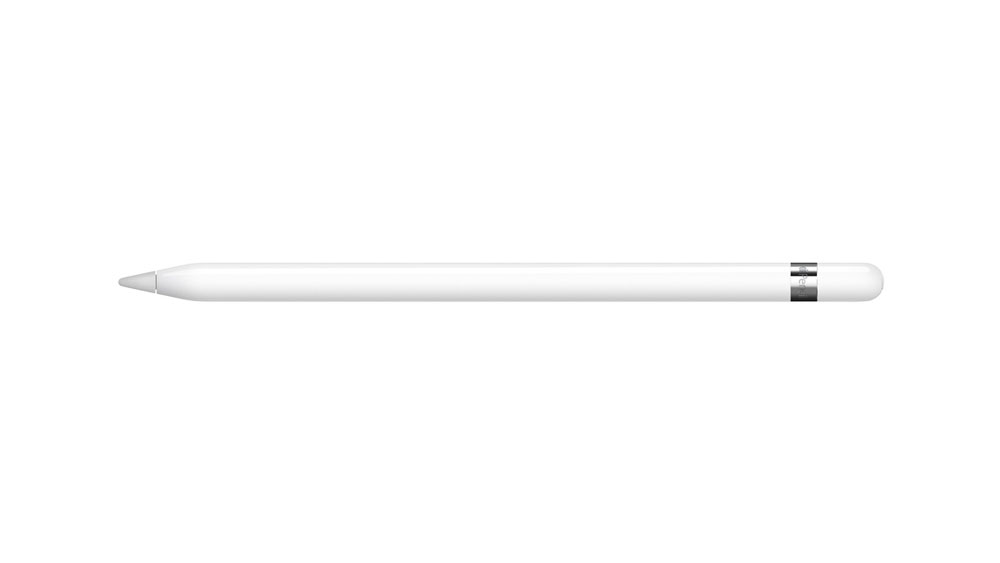
Apple Pencil
Apple Pencil 1
Surface Pen
Surface Pen

Can I directly learn digital art?

Yes, you can learn digital art directly! You don’t need to go to any art school, you don’t need to attend any evening courses, you don’t need any mentor, … You can actually learn digital art on your own. It is absolutely possible. I am 100% self-taught. And if I can teach myself digital art, you can do it, too!

I recommend you start with the basics of composition, tonality, and lighting & shading. You cannot only apply these to digital art, but to any type of art. So even if you eventually decide against digital art and choose to get into traditional art, you can apply these basic principles.

Learn more: 7 Things Artists Struggle With (& How To Tackle Them!)

To help you get started, I’ve prepared an eGuide for you to learn about the secrets of composition that already the ancient masters knew of. You can download it for free in the Freebie Library and use those secrets to make amazing creations!

Free Download: Secrets of Good Composition in Art –
Subscribe to get access to the Freebie Library and learn about the Secrets of Good Composition in Art that the ancient masters already knew of!

Another thing that I find particularly important in digital art is the interplay between light and shadows. The shadows in your image play an essential role in making your work look true to life and captivating.

Below you see an example of how much of a difference shadows make. The sample image on the left does not include shadows. The image on the right is the original work with shadows. Pretty amazing what a huge effect subtle shadows achieve!

Without Shadows With Shadows

Rose Red Supper‘ WITHOUT shadows on the left and WITH shadows on the right. Notice how much of a difference the shadows make… You can see the making of ‘Rose Red Supper’ here.

BUT you cannot do any of those without an editing program. So let’s finally talk about digital art software!

The software you need largely depends on the type of digital art you want to make. Generally speaking, you need to be familiar with the tools, workspace, panels, brushes, adjustments, keyboard shortcuts, etc. of your software of choice. You don’t need to know all the ins and outs of the program, but you need to know it well enough to be able to create what you have in mind.

Getting to grips with the software program and achieving a speedy workflow is probably the part with the steepest learning curve out of all the skills you need to acquire.

I recommend following a structured approach when you are learning to use a software. Start with the basics, and then move on to the advanced features. That’s the best – and fastest! – way to learn a software.

In the following section, I’ll speak about the different software programs and suggest some online training courses that can help you learn the different programs quickly.

Share on pinterest
Pinterest
get started learning digital art

Step-By-Step Digital Art For Beginners: Software

As I mentioned above, there are numerous types of digital art software that tailor to specific creative needs (e.g. digital painting, 2D digital art, 3D animation, etc.). 

The prices for digital art software range from completely free to super-expensive. When getting started with digital art, I recommend starting off with some free (or low-cost) software, to see if you enjoy making digital art.

Before opting for a program, make sure to check the compatibility with your operating system. Some apps such as Procreate, for example, only run on iPad or iPhones.

So let’s start with the free and low-budget software:

Free and low-budget software options
1. GIMP

Platforms: Windows, macOS, Linux
Price: Free

GIMP is an open­-source program and a free alternative to Photoshop. Since it has been around for a very long time, you’ll be able to find lots of helpful tutorials and resources on the internet. You can download GIMP for free here.

2. Krita

Platforms: Windows, macOS
Price: Free

Krita is another free alternative to Photoshop. The program is specifically geared towards digital painting, illustration, comic and concept art. In addition to the standard editing tools, Krita provides a lot of the functions you would also find in Photoshop, such as layers, masks, blending modes, and a large amount of brush presets. You can download Krita for free here.

3. Affinity Photo

Platforms: Windows, macOS, iOS
Price: around US$55

Affinity Photo is a fantastic budget-friendly option for all up and coming artists who don’t want to invest into an Adobe App subscription. Affinity Photo is kind of an all-round editing program like Photoshop that can also handle PSD files and has most of the brushes, filters and effects you need to get started with digital art. You can buy Affinity Photo here.

Learn more: Is Affinity Photo As Good As Photoshop? [An Artist’s Honest Review…]

4. Medibang Pro

Platforms: Windows, macOS, Linux
Price: Free

MediBang Paint Pro is a free alternative to Clip Studio Paint for all digital artists who want to start learning manga and comic art. It’s lightweight app that comes with over 50 brushes and more than 800 premade backgrounds and tones to choose from. There’s a large selection of free fonts and special comic creation tools. You can download MediBang Pro for free here.

5. Autodesk Sketchbook

Platforms: Windows, macOS, Android
Price: Free

Autodesk Sketchbook is free digital drawing software that comes with loads of customizable brushes, pencils, markers and other tools that simulate realistic ink, paint, watercolor and other natural media. Even though available for free, Sketchbook is professional-grade software that is used by professional designers and hobbyists alike. You can download Audodesk Sketchbook for free here.

6. Blender

Platforms: Windows, macOS, Linux
Price: Free

Although completely free, Blender is now a level-headed alternative to professional 3D software, such as AudoDesk Maya. If you want to take up 3D modeling, then Blender is the right app for you to get started. Blender is perfect for everything that is to do with three-dimensional modeling, rendering, animation, and game development. You can download Blender for free here.

Top-level paid digital art software

Once you got started making digital art with some free software and found that you want to stick with it, it’s time to upgrade to a more powerful program.

Below in our step-by-step digital art for beginners guide you find a list of the best software programs that digital artists use – from all-rounders like Photoshop to special 2D painting and 3D modeling software. Along with the program, I will suggest some of the best options to learn that specific program and acquire the skills you need for making digital art!

These are the programs we are going to look into:

  1. Photoshop – best all-round digital art software for digital painting, photo manipulation & retouching, graphic design, illustration, etc.
  2. Corel Painter – best for digital painting & drawing, manga and anime art.
  3. Clip Studio Paint – best for digital painting and drawing for manga and comic artists.
  4. Autodesk Maya – professional 3D software for creating realistic characters and physically accurate visual effects.
  5. ZBrush – the industry standard for digital sculpting and painting.
  6. Cinema 4D – sophisticated software for 3D computer animation, modeling, simulation, and rendering.
  7. Procreate – beginner-friendly and inexpensive digital drawing app for iPads and iPhones.

Photoshop is definitely the most popular all-round digital art software in the market. You’ll get the most powerful and up-to-date features as part of Adobe’s Creative Cloud service. You can sign up for a Free 7-Day Trial of Photoshop here, before committing to any of their subscription plans.

Since Photoshop is so popular, you will have no problems finding helpful stuff and tutorials everywhere on the internet (I also have some free Photoshop tutorials for you on my website!). 

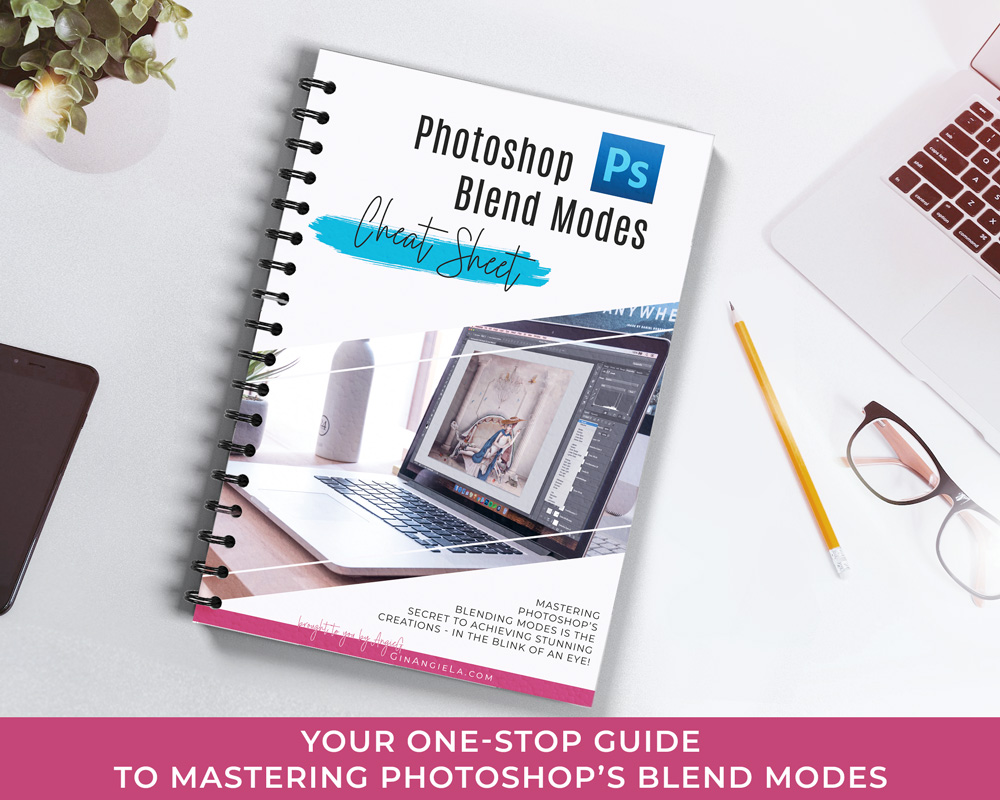
One very important and useful thing in Photoshop that will allow you to create amazing effects with just a few clicks are blending modes. To help you get to grips with blending modes fast, I have a super-extensive Blend Modes Cheat Sheet for you that you can download for free in the Freebie Library.

Free Download: Photoshop Blend Modes Cheat Sheet –
Subscribe to get access to the Freebie Library and download your Photoshop Blend Modes Cheat Sheet to get familiar with ALL blending modes!
Overall best Photoshop training course for beginners led by an Adobe-certified instructor.
One of the best online Photoshop courses for everyone wanting to get started with digital art.

This Photoshop course is ideal for total beginners and artists with a bit of previous editing knowledge. Adobe-certified trainer Daniel Scott teaches you all the basic Photoshop skills – one by one.

Excellent online course for all digital artists with previous knowledge who want to delve deeper into Adobe Photoshop.
Excellent online course for all digital artists with previous knowledge.

The Adobe CC Advanced Training is the follow-up course to the Essential Training. Apart from advanced editing skills, you will learn 3D animation and post-production techniques.

Platforms: Windows, Mac
Price: US$350

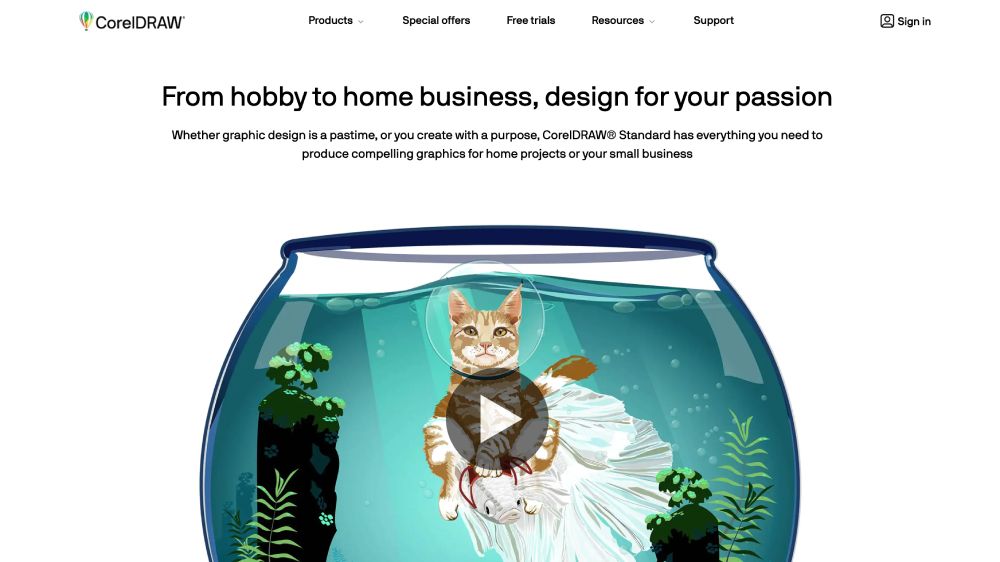
Corel Painter focuses specifically on digital painting and drawing. Many artists use it for illustration, manga, anime, photo and concept art. Corel Painter is professional digital art software that comes with lots of brushes that emulate all types of natural media. 

To see if Corel Painter is right for you, you can start a Free 30-Day Trial here.

A great course for all digital art beginners to get confident in using Corel Painter quickly.
Corel Painter 2016

This Corel Painter Course on Udemy teaches you the basics of the digital painting app. The course is led by long-time illustrator and fine artist Jason Maranto from VTC Software Training who will make you familiar with the core features of Corel.

Learn a new digital art skill: find out how to easily transform your photos into oil paintings with Corel Painter.
Corel Painter – Editing Photographs

This Corel Painter course by Ania Krzymowska specifically focuses on editing photos into painting-like artworks. The course is great for beginners but also for experienced photographers who want to enhance their skillset.

Platforms: Windows, macOS, iPad, iPhone, Android, Chromebook
Price: US$54 (PRO); US$237 (EX)

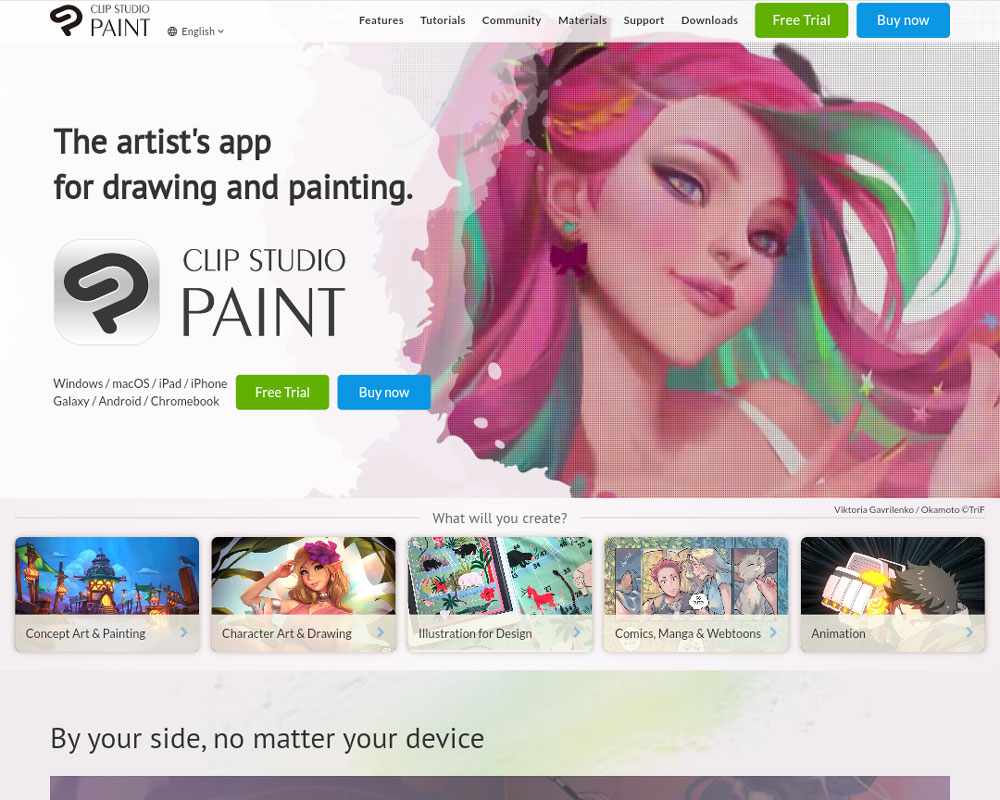
Clip Studio Paint is a popular drawing app for manga and comic artists. It’s available in two versions: the PRO (standard) version and the fully featured EX (expert) version.

You can try either version with a Free 30-Day Trial of both Clip Studio PRO and EX here.

The ideal pick for all digital artists wanting to get to grips with animation in Clip Studio Paint.
Clip Studio Paint - Essential Training Course (Udemy)

This Clip Studio Paint course is for all artists starting out – no previous experience required! All you need is a copy of Clip Studio Paint (get your Free 30-Day Trial here) – and, if possible, a drawing tablet. A simple entry-level tablet, like the One by Wacom or a Wacom Intuos, is totally enough.

Great course for beginners and intermediate users to get a broad understanding of all the possibilities of Clip Studio Paint.
Clip Studio Paint Pro/Ex

This Udemy course covers both Clip Studio Paint Pro and Ex, formerly called Manga Studio 5. Brian Jackson teaches you the fundamentals of a broad array of digital art techniques, including graphic art, 2D animation, painting, drawing, and comic book art.

Autodesk Maya is the industry standard when it comes to 3D modeling, animation and design. It is professional software that allows you to create realistic characters and physically accurate simulations in a single visual programming environment.

Autodesk Maya is used by companies like Metro-Goldwyn-Mayer Pictures Inc. for creating their animation films.

To see if the software is a good pick for you, you can test Autodesk Maya free for 30 days here!

Comprehensive Maya course for beginners with no prior experience in 3D modeling.
Maya for Beginners

In this 6-hour course, you will learn the most important aspects of Autodesk Maya through project-based learning. The course is taught by Lucas Ridley, a professional animator who has worked on films like Avenger’s Infinity War and Transformers: The Last Knight.

The Maya crash course that teaches you the fundamentals of 3D modeling and animation within three hours!
Learn Maya in 3 Hours

‘Learn Maya in 3 Hours’ is a great online course for all 3D modeling enthusiasts who don’t want to invest a lot of time in learning the basics. In 25 short lessons, professional filmmaker and VFX artist Ruan Lotter shows you how to create your own 3D models and animations. 

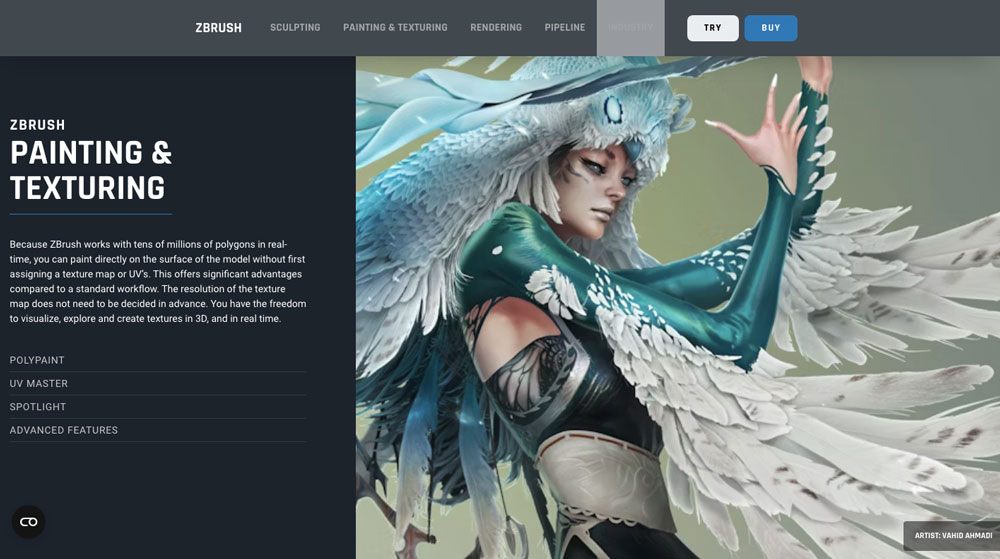
ZBrush is the most advanced 3D sculpting program out there. It is used to create high­-resolution 3D models for movies, video games, and special effects. The software mimics traditional sculpting techniques and is used in professional film and video game studios all over the world.

ZBrush is part of Maxon One. You can get a free 14-day trial of ZBrush here, along with Cinema 4D and Redshift, and all other Maxon One apps!

A traditional sculpting course in ZBrush that focuses on understanding the basics of sculpting faces.
Introduction to Sculpting in ZBrush

Once you complete this Introduction to Sculpting in ZBrush, you’ll be familiar with the workspace and major tools, know how to block in structure and perspective, adjust topology and circuitry, and design your very own 3D face models!

A ZBrush course for beginners to mid-level users looking to enhance their skills in 3D modeling.
Learn ZBrush – Ultimate Course

In this Udemy course, award-winning digital sculptor and studio head Milivoj Popovic teaches you step-by-step how to create amazing 3D sculpts. You can complete a quizz after each section and download learning materials and ZBrush tools to jump-start your 3D modeling skills. 

Cinema 4D is a professional software for 3D modeling, animation, simulation, and rendering. Cinema 4D makes it easy to create stunning visuals for design, motion graphics, VFX, AR/MR/VR, and game development. The software is easy to learn, and therefore a great option for beginners, too.

You can try Cinema 4D free for 14 days here, along with the other apps in the Maxon One package, including ZBrush and Redshift.

The ultimate Cinema 4D guide for beginners wanting to create their own animations.
Introduction to Cinema 4D

This 8-hour Skillshare course teaches you everything you need to know about Cinema 4D – no previous knowledge in animation needed. You will get to know various modeling tools and techniques and learn how to apply them in real-life projects.

A comprehensive Cinema 4D course for intermediate to advanced users led by a Maxon-certified instructor.
Cinema 4d complete course

In this Udemy course, Maxon-certified instructor Lionel Vicidomini teaches you advanced skills in modeling with Cinema 4D. With the help of several real-life examples, you’ll learn how to model various objects. This course is ideal for all artists who already have some previous knowledge in 3D modeling and want to create their own objects instead of downloading premade ones from online marketplaces.

Platforms: iPad (iOS 11.1+), iPhone
Price: US$9.99

Procreate is the award-winning creative app for the iPad or iPhone (Procreate Pocket). Unfortunately, there is no free trial available at the moment, but you can get Procreate for only $9.99 or Procreate Pocket for $4.99. Once you’ve purchased one version, you will get all the future updates for free, which is a pretty fair deal. 

Procreate is very beginner-friendly, so you’ll be able to make awesome digital art in no time! You can buy Procreate and Procreate Pocket here

The fastest and easiest way of learning to create professional and sellable artwork using Procreate.
Step-by-step digital art for beginners: Procreate Basics

This Procreate course for beginners is led by Cat Coquillette, one of the top Skillshare teachers who sells her own Procreate designs to brands like Urban Outfitters, Target, Barnes & Noble, and more. By the time you finish the course, you’ll be able to create professional-level artwork and have acquired the skills to optimize your art for sale. When registering for the course, you will get a 3-pack of Procreate brushes and 5 custom color palettes for free!

Get familiar with the advanced features and functions of Procreate by creating stunning flatscapes.
Advanced Techniques in Procreate

In this Skillshare course, you will learn advanced techniques and functions in Procreate with Jeremy Hazel. In particular, you will learn to create stunning flatscapes using different textures, the illusion of size, luminosity and focus to create depth of field. By the end of this course, you’ll be familiar with primitives and non-destructive workflows to increase your artistic productivity. 

I hoped that this step-by-step digital art for beginners guide helped you choose the right tools and the best software for your creative needs. Let me know in the comments what equipment you are working with and how you started to learn digital art! See you on the next post, Angie xx

AngieG. – The Person behind the Pictures
HI Y'ALL!  

My name is Angie and I’m a self-taught digital artist. On this blog, I am sharing my knowledge and discussing the best software and hardware for different artistic needs. My desire is to offer options for all creative stages and budgets so that everyone can follow their dream and create art!

LET'S CONNECT:
SHARE THIS POST:

This Post Has 4 Comments

  1. Sophia Turner

    What a fantastic resource for beginners! I’m new to digital art, and your breakdown of essential tools and techniques has made the whole process feel a lot less intimidating. Thank you for this!

    1. User Avatar
      GinAngieLa

      Hi Sophia, great to hear that you found my post helpful. I wish you all the best on your digital creative journey. Happy art making! ♡

  2. Heartist

    Great article. Wonderful writing style and methodical thinking, describing step by step. I will come again here. Thank you Angie!

    1. User Avatar
      GinAngieLa

      Hey, great that you find my content helpful! Looking forward to staying in touch with you ♥︎

We ♥ comments and appreciate the time that readers spend to share ideas and give feedback. However, all comments are manually moderated and those deemed to be spam or solely promotional will be deleted.