ⓘ Disclosure: Some of the links in this post may be affiliate links. If you click on the link and make a purchase, I will receive an affiliate commission at no extra cost to you. As an Amazon Associate I earn from qualifying purchases.


-
-
Select options This product has multiple variants. The options may be chosen on the product page

- Art Prints & HR Images, Surreal Stories
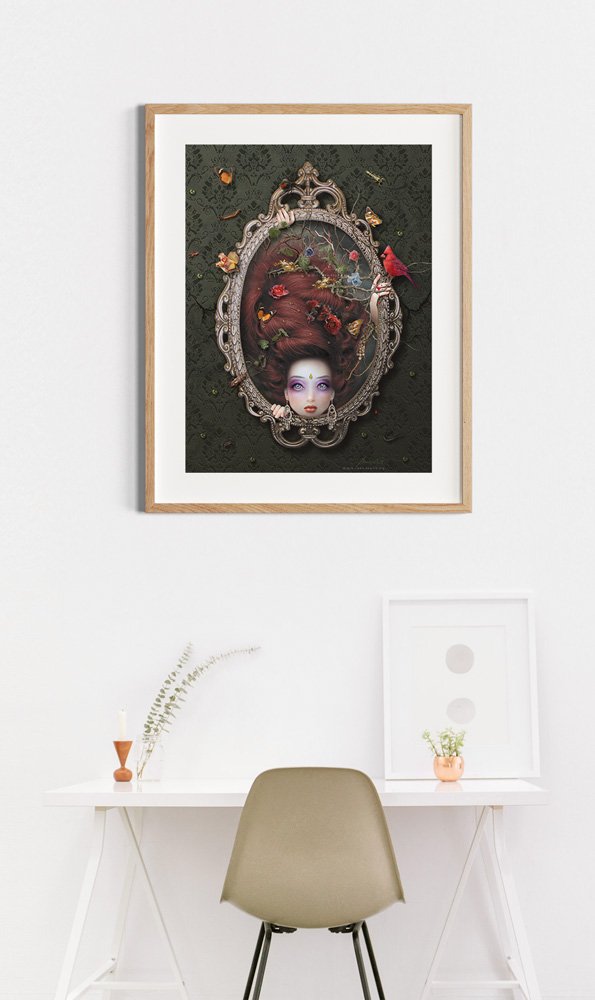
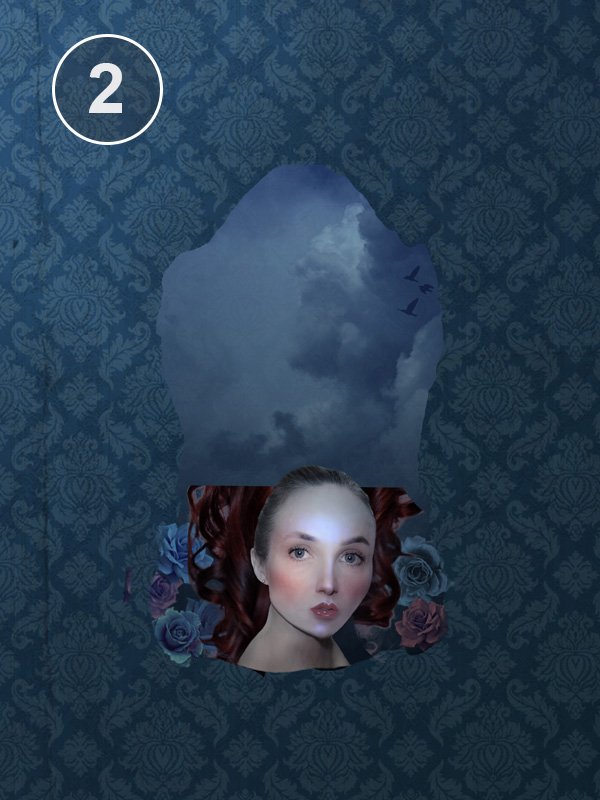
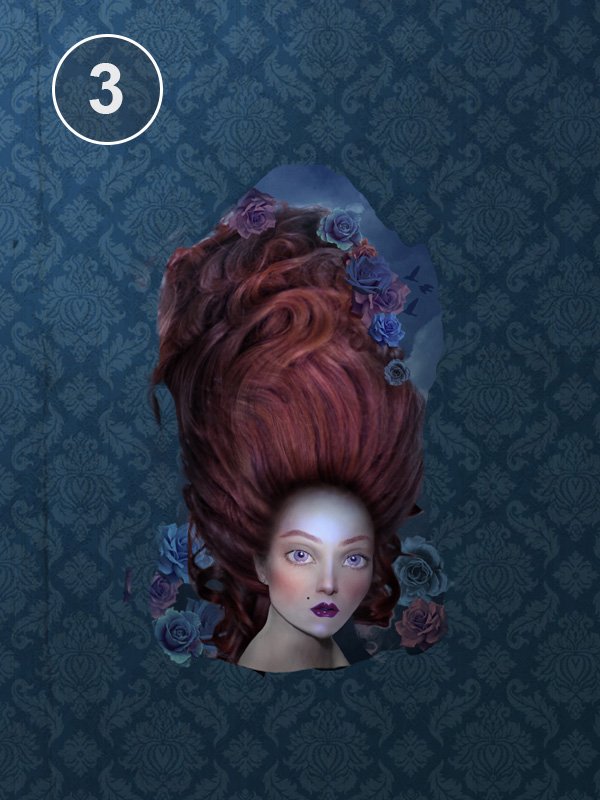
Lisa
- Price range: $33.00 through $420.00
-
-

-

-

-

-