
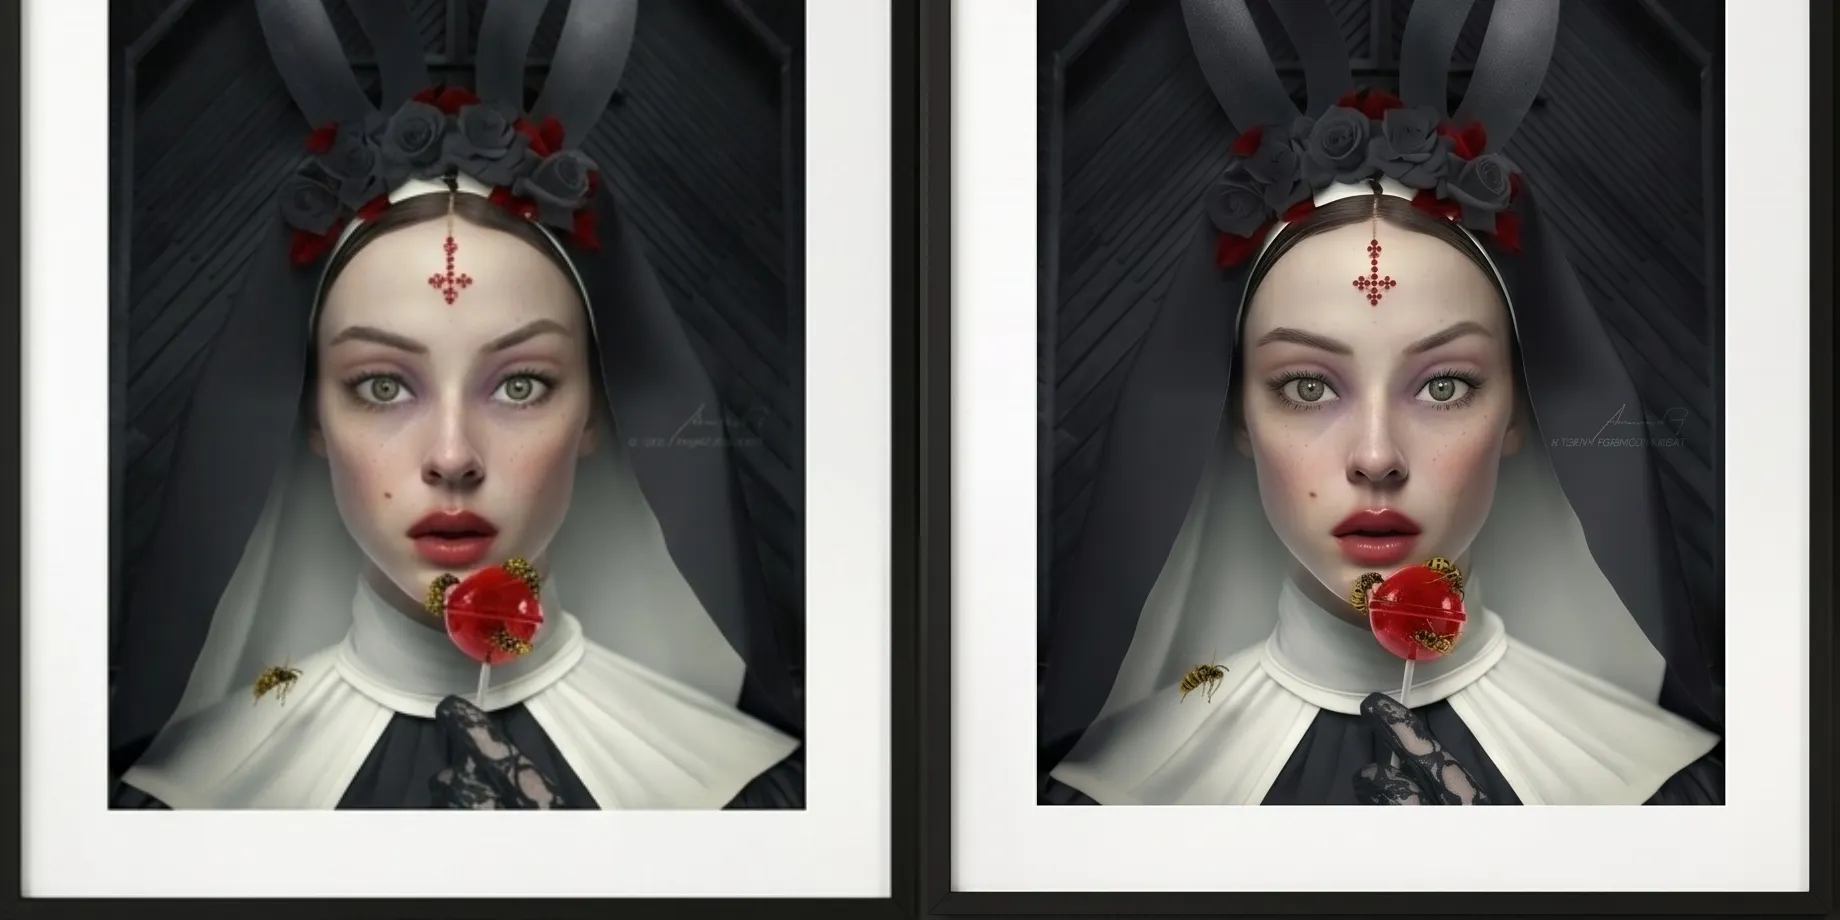
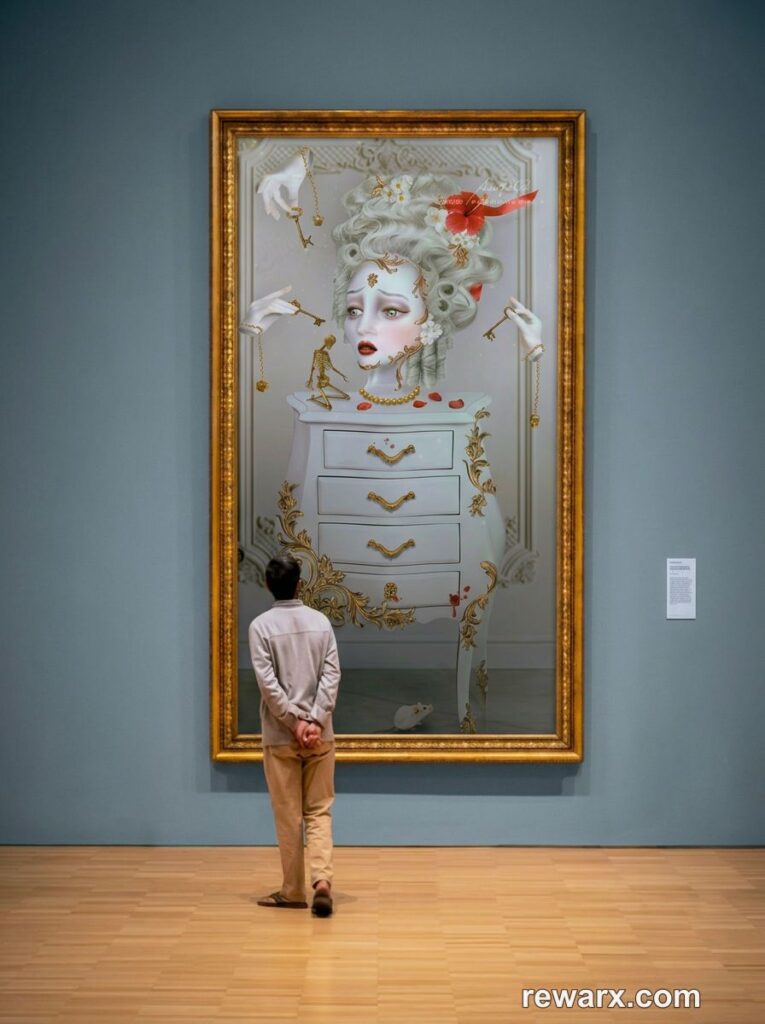
An appealing artwork presentation is key when you want to sell prints of your work. Collectors like to see the piece in different rooms and angles before they buy. Wall art mockups help you achieve that without you having to photograph each and every piece in such a variety of settings. Luckily, AI lets you generate custom mockups that show your art prints exactly the way you want. In this tutorial, I show you step by step how to create hyperrealistic wall art mockups for free!
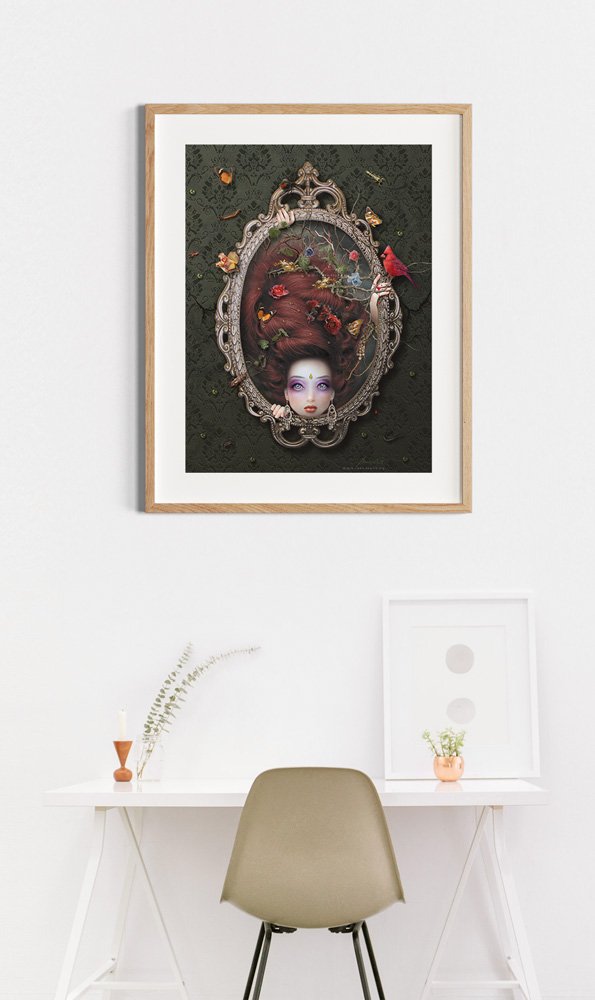
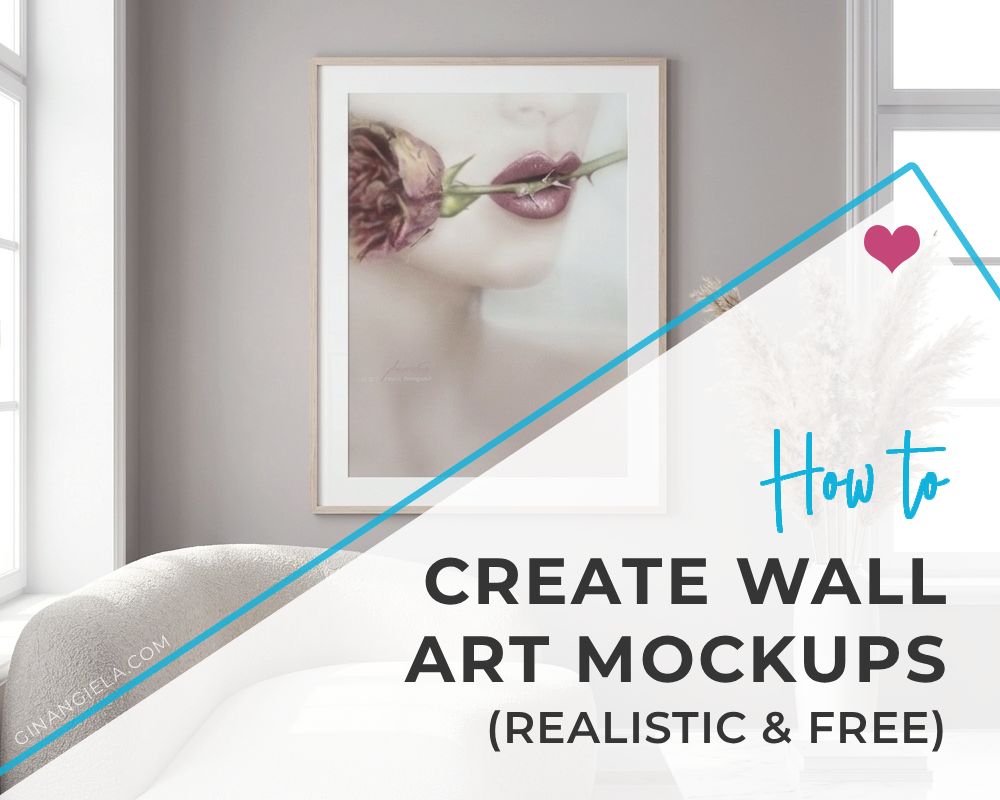
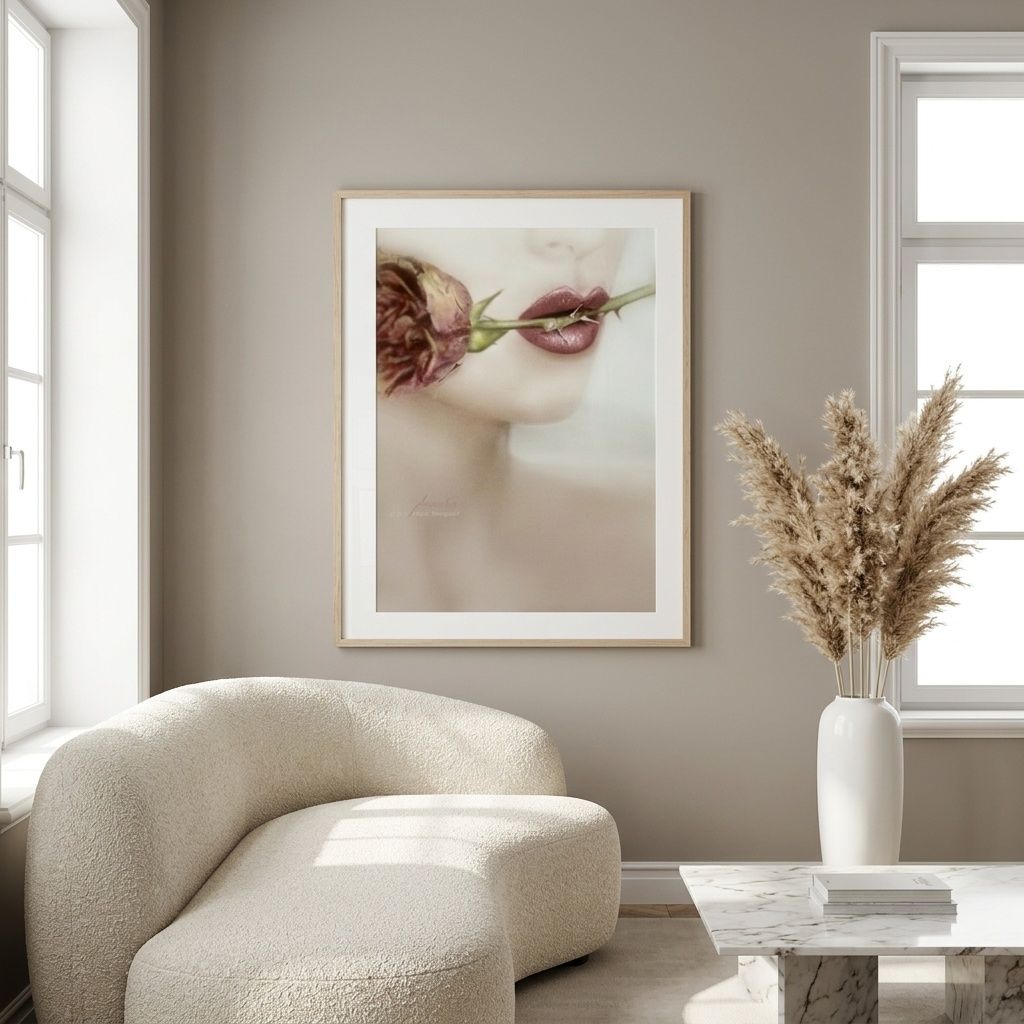
Wall art mockup for ‘Poisonous Gift‘ created with RewarxStudio
How to Create Wall Art Mockups: Table of Contents
Every artist who sells prints of their artwork knows how important presentation is. Collectors want to see what a piece looks like hung on a wall, before they make a purchase.
That’s why you should show your art from different angles and in different environments. Those environments can be living rooms, bedrooms, office rooms, kitchens, hallways, and so on.
Seeing your art in spaces like these makes it easier for clients to picture it in their own homes. This makes them more likely to buy.
And this is where wall art mockups come in.
I recently tested a range of mockup generators to figure out the best wall art mockup generators for artists. Using four of my artworks, I generated mockups in various aspect ratios and with different image models, if available.
I evaluated every mockup generator based on image quality, prompt adherence, customization options, available image models, and pricing.
One tool clearly stood out from all the rest: RewarxStudio.
RewarxStudio consistently produced the best results—even with super-basic, unrefined prompts that any beginner can quickly jot down.
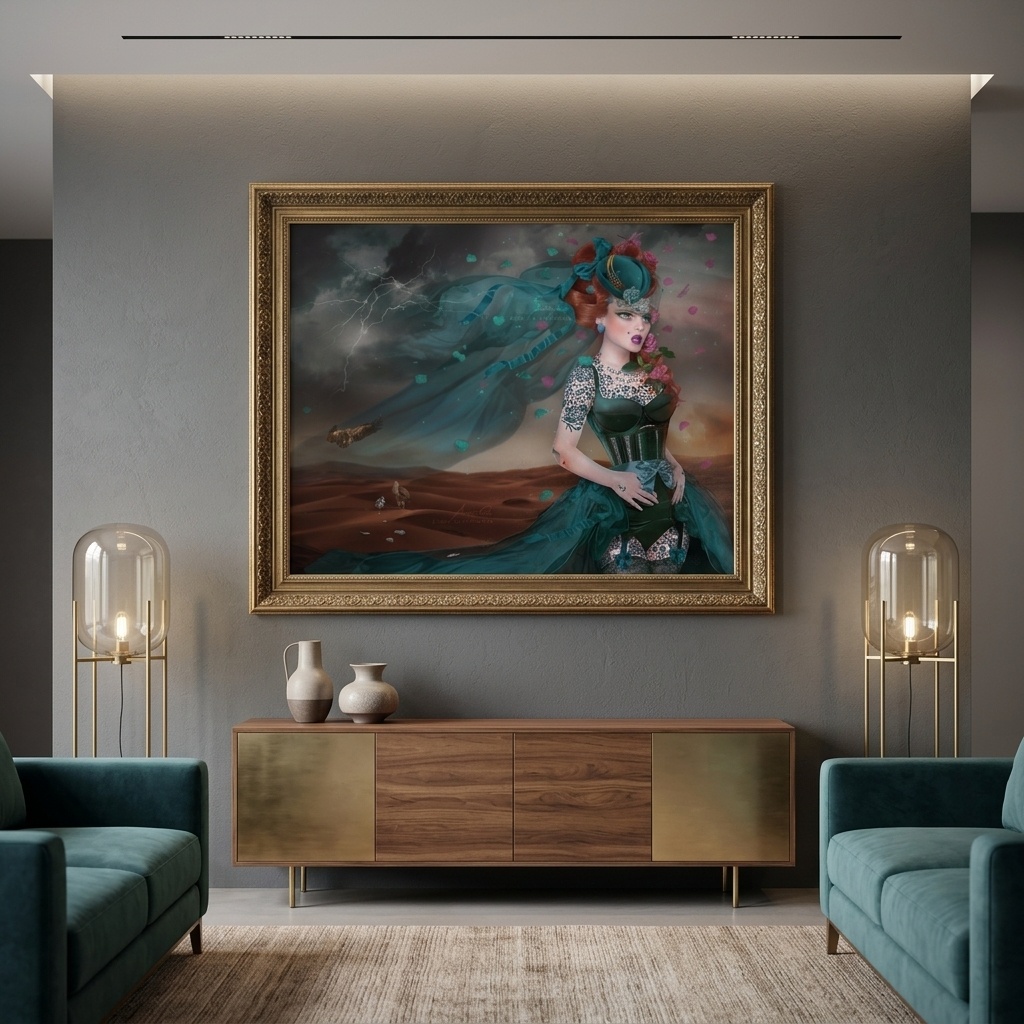
To give you an idea, this is the wall art mockup I generated for ‘Desert Rose’, by simply prompting the tool to create a:
“Premium living room with this artwork hung up in a beautiful frame.”
Wall art mockup for ‘Desert Rose‘ created with RewarxStudio
However, one thing that turned out to be most important, with all the mockup generators I tested, was well-crafted prompts.
RewarxStudio was the only tool that generated fantastic results even with simple prompts.
But, generally speaking, the more refined the prompt, the better the result. And RewarxStudio allows for very refined prompt input, while still being super-easy to use.
In this tutorial, I show you step by step how to create realistic wall art mockups from start to finish that present your artwork in the best way possible—in exactly the way you want.
With that said, let’s get into it!
- Stay in touch!
Our Newsletter is packed with creative tips, free tutorials, art tool reviews, and looaads of inspiration!
How to Create Wall Art Mockups in 4 Easy Steps
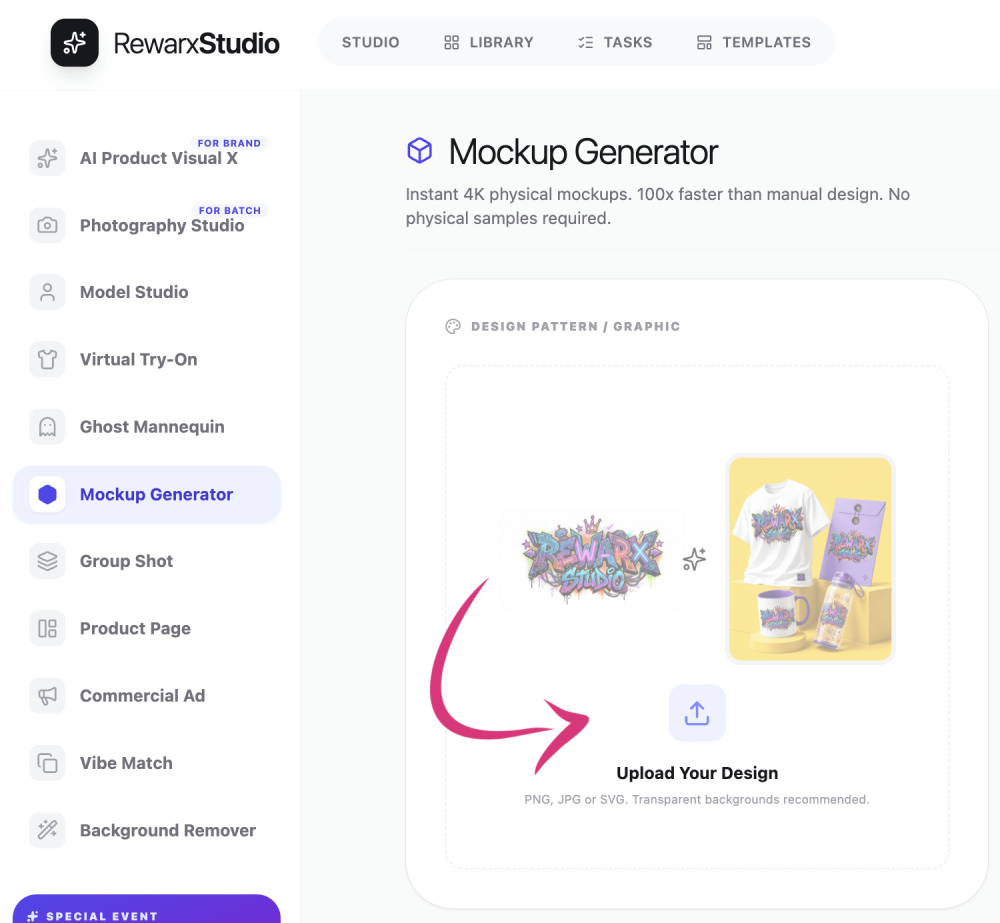
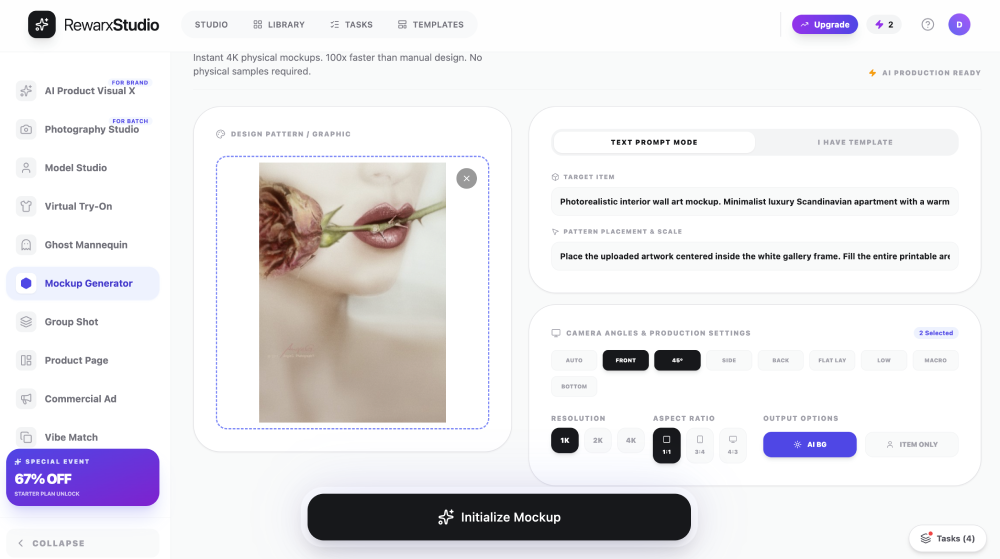
STEP 1: Access RewarxStudio's Mockup Generator
The great thing about RewarxStudio is that it features a dedicated mockup generator. This is something regular generative AI platforms don’t have.
RewarxStudio’s mockup generator is a professional-grade AI tool for creating ecommerce-ready images. You can generate mockups for various purposes, including apparel, home décor, packaging, and merchandise.
For artists, the mockup generator is especially interesting because it allows you to generate realistic wall art scenes that highlight your artwork in the best way possible.
To access the mockup generator, all you need to do is create a free RewarxStudio account. Once you’ve signed up, you’ll receive a number of free credits that are enough to generate a couple of mockups for your art!
RewarxStudio has a dedicated mockup generator.
STEP 2: Upload Your Artwork
After signing up for free, you can directly go to the mockup generator and upload your artwork.
Simply click on “Upload Your Design” on the canvas and upload your work as a PNG, JPG, or SVG.
Make sure to choose a high-resolution file, because the better the quality of the image you upload, the better the final wall art mockup will look!
RewarxStudio lets you upload your artwork as PNG, JPG, or SVG.
STEP 3: Enter a Prompt
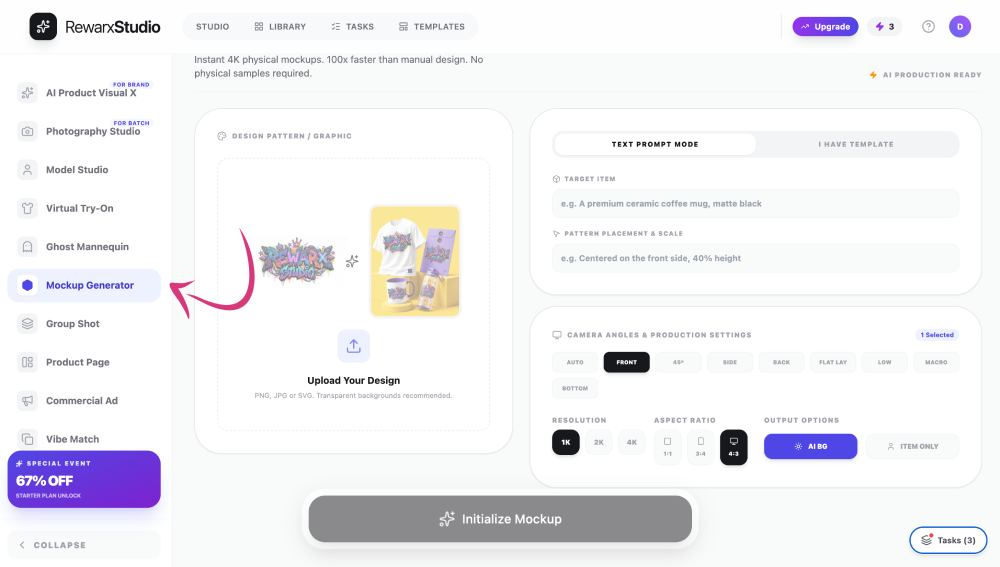
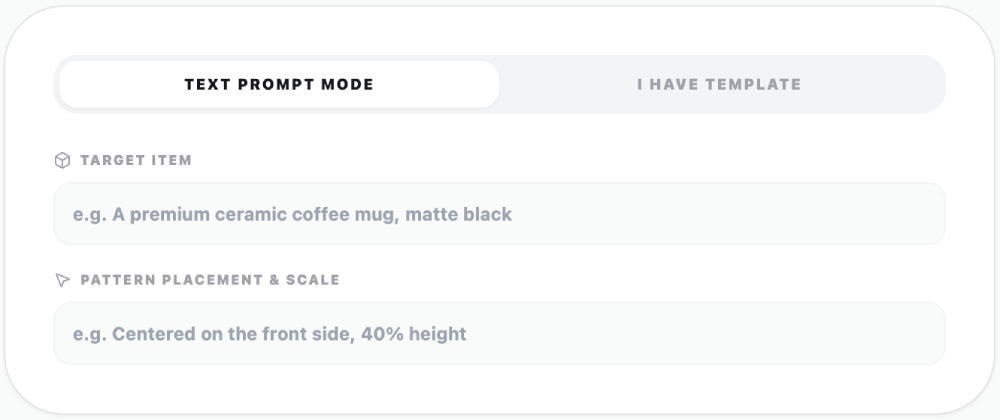
RewarxStudio’s mockup generator is the only tool I encountered during my testing that allows you to split a prompt into Target Item and Pattern Placement & Scale. This is great because it gives you very strong control over the end result.
Target Item describes the object or scene of the mockup. You can think of it as the subject of the image. Here, you describe things like:
- The product (framed canvas, poster, T-shirt, mug, tote bag, etc.)
- The environment (living room, office, studio, bedroom)
The style (minimalist, Scandinavian, industrial, luxury) - The lighting (natural daylight, studio lighting, golden hour)
Materials, colors, and overall mood
In the Pattern Placement & Scale field, you can tell the AI how to apply your uploaded artwork to the mockup. For example, you can specify:
- Where the design should appear
- How large it should be
- Whether it should fill the entire surface or only part of it
- Whether the original aspect ratio should be preserved
- How the design should be aligned
RewarxStudio allows you to split a prompt into Target Item and Pattern Placement & Scale.
Let me give you an example of the prompt I used to generate a wall mockup for my artwork “Poisonous Gift.”
For Target Item, I described how I wanted the interior to look like:
Photorealistic Scandinavian-style interior mockup of a minimal luxury apartment with a warm greige wall. The room has a cream furniture, and a tall white floor vase with dried pampas grass. Soft natural daylight, neutral beige tones, clean editorial look, realistic textures and soft shadows. No people.
In Pattern Placement & Scale, I mentioned how I wanted to artwork to be placed:
Place the uploaded artwork centered inside the frame, keeping its original proportions. Add a thin white mat.
As a rule of thumb, the more detailed you make these inputs, the better the AI understands your vision and the more realistic your mockup will look.
Based on my experience, it’s important to mention that you want the “artwork to be centered inside the frame,” otherwise it might come out slightly off.
Don’t be afraid to experiment with different interior styles, lighting conditions, and decorative elements. To refine your prompt, you can use an AI tool like ChatGPT or Claude.
To learn more about how to craft prompts using LLMs like ChatGPT and Claude, I can recommend the Complete Prompt Engineering for AI Bootcamp.
By the way, you can also include people contemplating your artwork in the mockup, which I will show you later on in this tutorial.
The more detailed the prompt, the better results you will obtain from RewarxStudio.
STEP 4: Select Output Settings
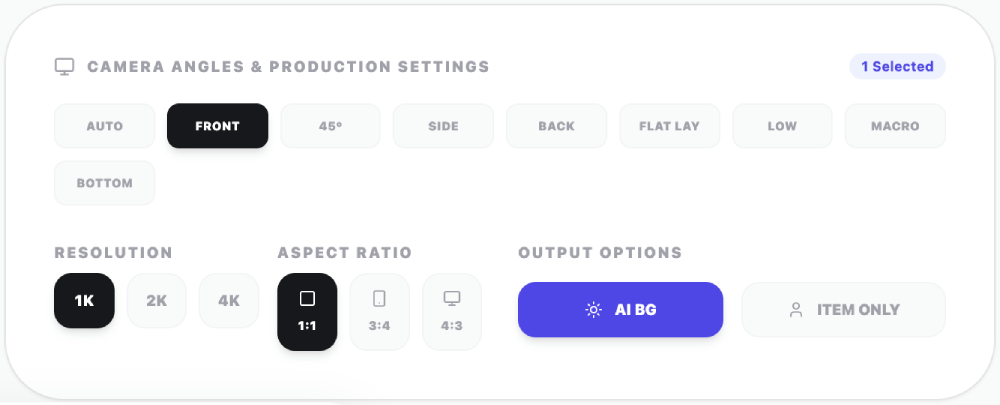
Last but not least, RewarxStudio allows you to select from a range of Camera Angles & Production Settings.
Instead of describing the camera angle in your prompt, you can directly select the viewpoint with the click of a button. This gives you a lot more control over the photographic outcome of the mockup. What’s more, you can choose not only one but several camera angles!
Apart from that, you can select resolution, aspect ratio, and output options:
RewarxStudio has a dedicated mockup generator
With that done, simply hit “Initialize Mockup” at the bottom of the screen, and RewarxStudio will generate your wall art mockup within a couple of seconds!
RewarxStudio only takes a few seconds to generate your mockup.
Mockup Generation Results
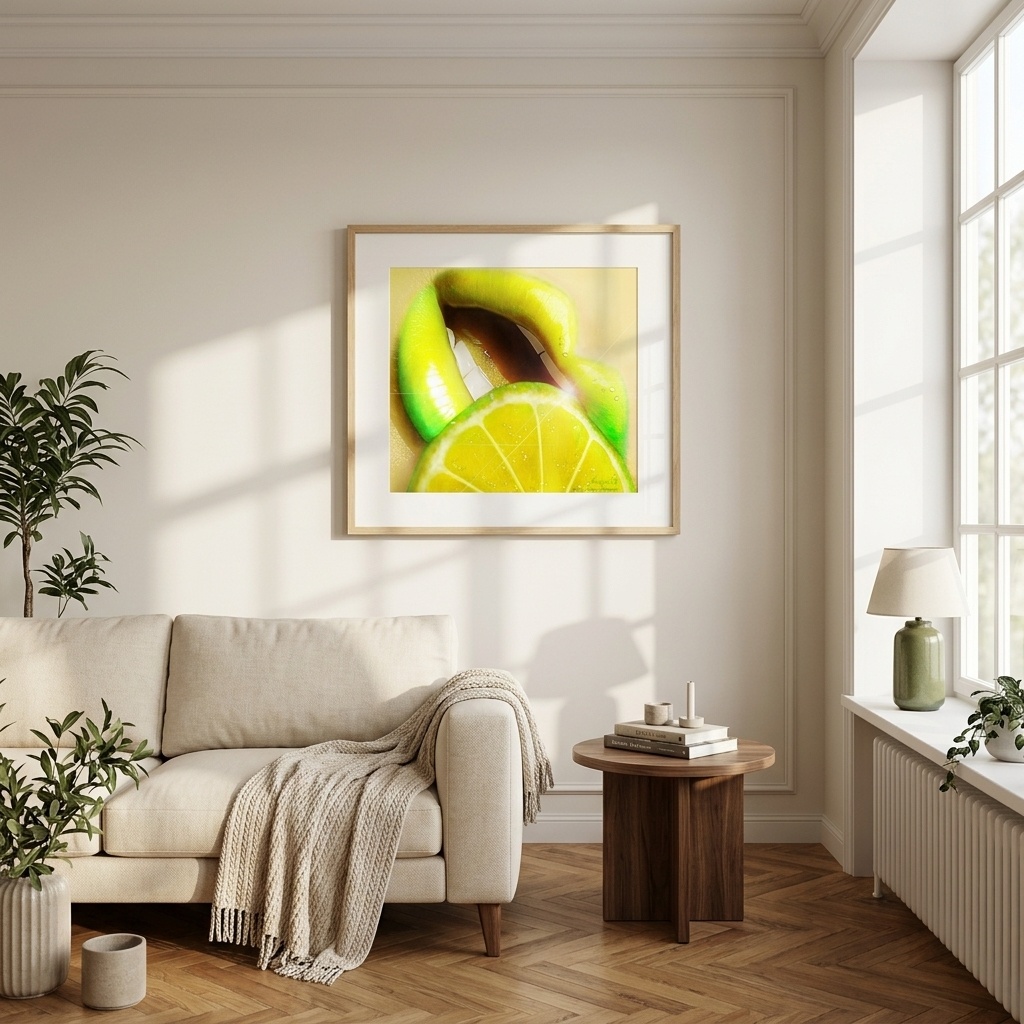
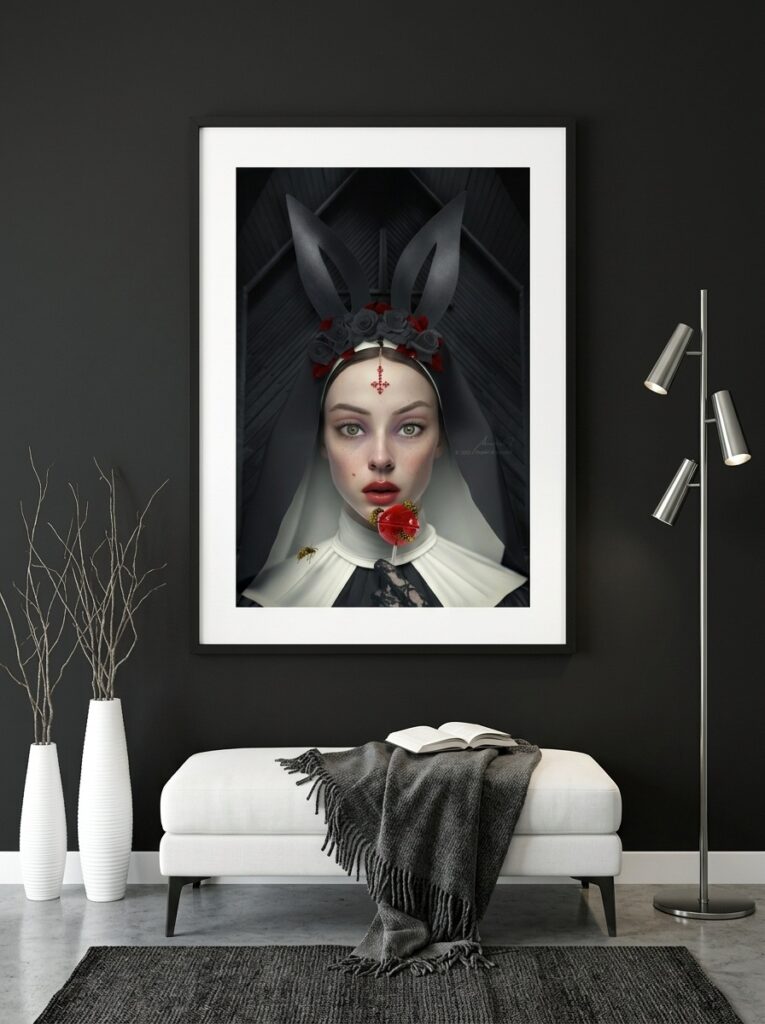
I think the generated mockups turned out absolutely amazing—including the one that I generated with the simplest prompt I already showed you above.
The artwork is always in the limelight, which is the most important thing. The settings look hyperrealistic, with the light falling beautifully into the rooms, highlighting the artwork and creating realistic shadows.
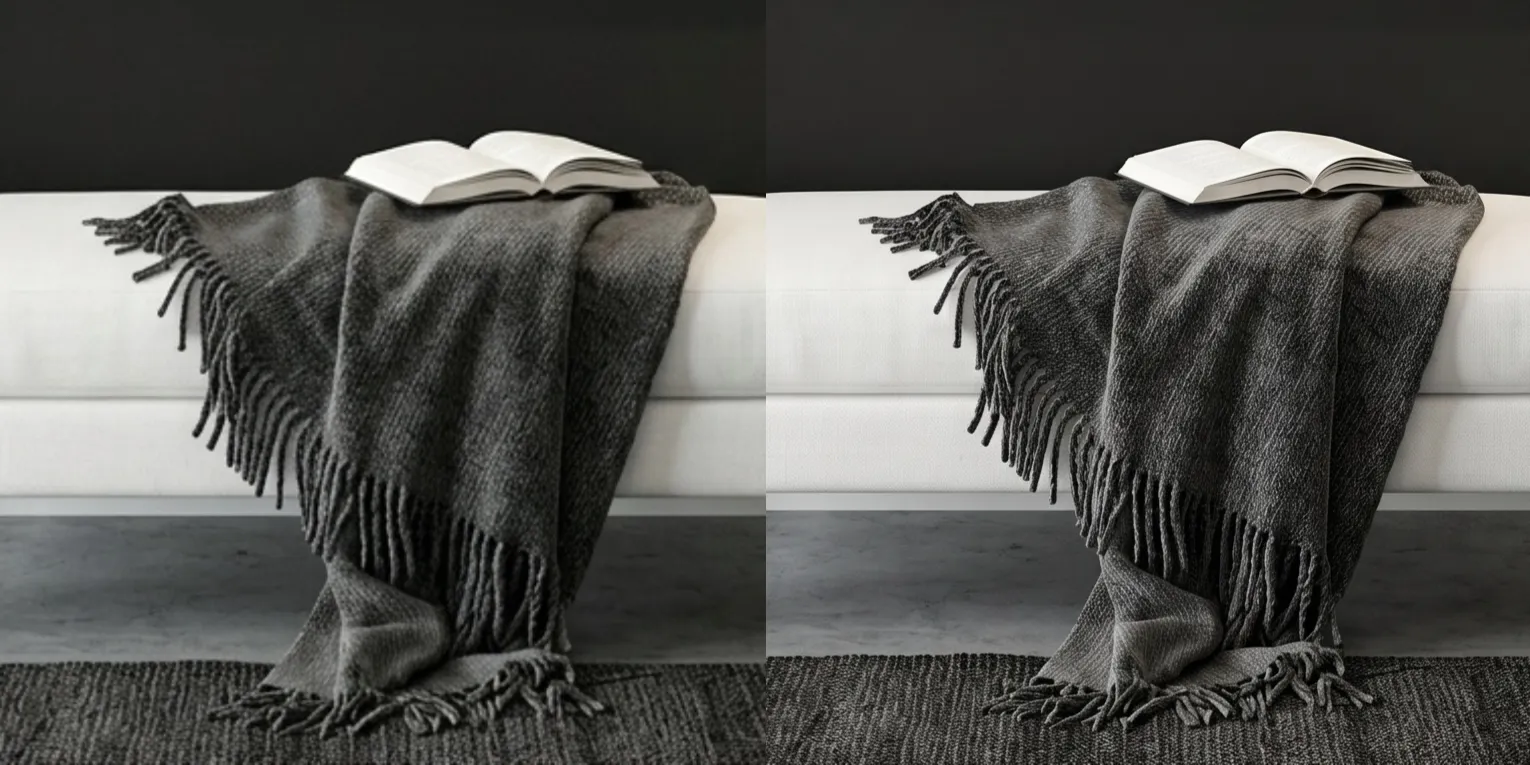
The furniture and other objects that appear in the mockups look highly realistic, too, including the textures, which you can also see in the upscaled version below.
So, did I promise too much? In my opinion, RewarxStudio is hands-down the best wall art mockup generator for artists!
Mockup for “Poisonous Gift” generated with RewarxStudio
Mockup for “Lemon” generated with RewarxStudio
Mockup for “Faithful Bunny” generated with RewarxStudio
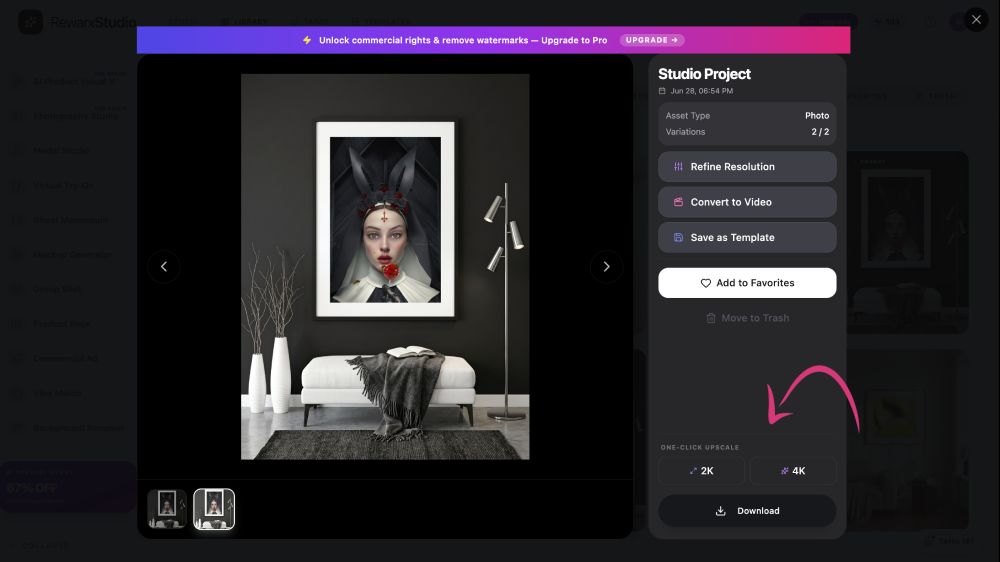
RewarxStudio is one of the few tools that allow you to upscale and download the upscaled images—even on its free plan.
RewarxStudio lets you upscale and download images on its free plan.
I cut out some close-ups for you to see how much more detail and texture the upscales bring out (click to enlarge 🔍):
Closeup of the mockup for “Faithful Bunny” upscaled with RewarxStudio
Bonus: How to Create Wall Art Mockups from Templates
Besides generating mockups from prompts, RewarxStudio also allows you to create mockups from an existing template.
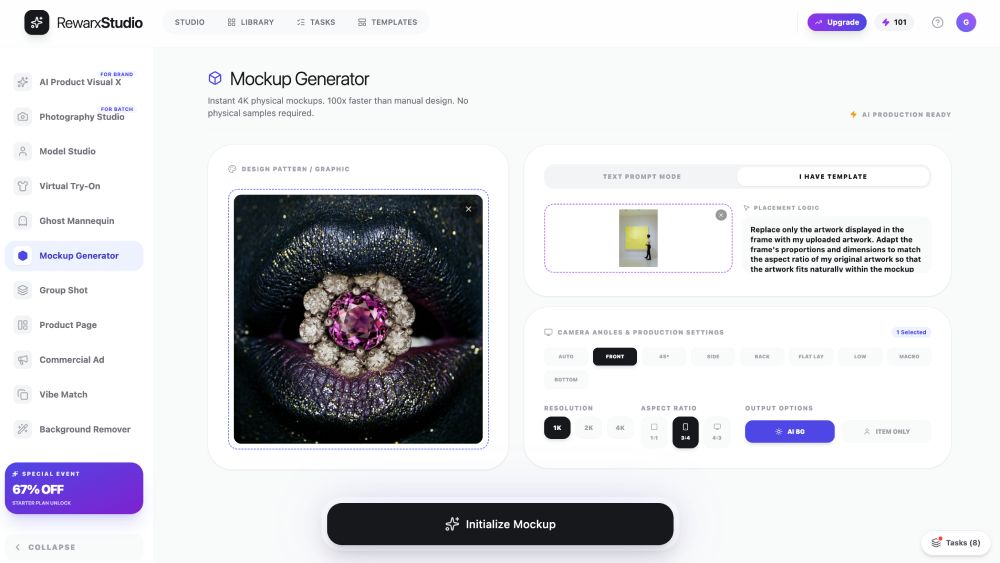
Simply select “I Have a Template,” and you can upload your template and enter a prompt for the tool to know how to use the template with your artwork:
Closeup of the mockup for “Faithful Bunny” upscaled with RewarxStudio
Please make sure to not infringe anyone’s copyright when generating mockups from existing templates. For this review, I used images from Unsplash, which are free to use and modify for both personal and commercial purposes.
I used the following prompt to generate wall art mockups for each artwork I’m showing you below, making sure that the original dimensions of my works are kept and fitted seamlessly into the scene. Feel free to steal it from me: 😉
Replace only the artwork displayed in the frame with my uploaded artwork. Adapt the frame’s proportions and dimensions to match the aspect ratio of my original artwork so that the artwork fits naturally within the mockup without being cropped, stretched, or distorted. Keep the existing frame style, wall, furniture, room layout, camera angle, composition, styling, and all decorative elements exactly as they are.
Improve the overall realism by subtly enhancing the lighting, shadows, reflections, and textures. If there are people in the scene, improve their appearance to look more natural, photorealistic, and professionally styled while maintaining their original poses and positions. The final result should look like the original template mockup with only the framed artwork replaced and the overall image quality enhanced.
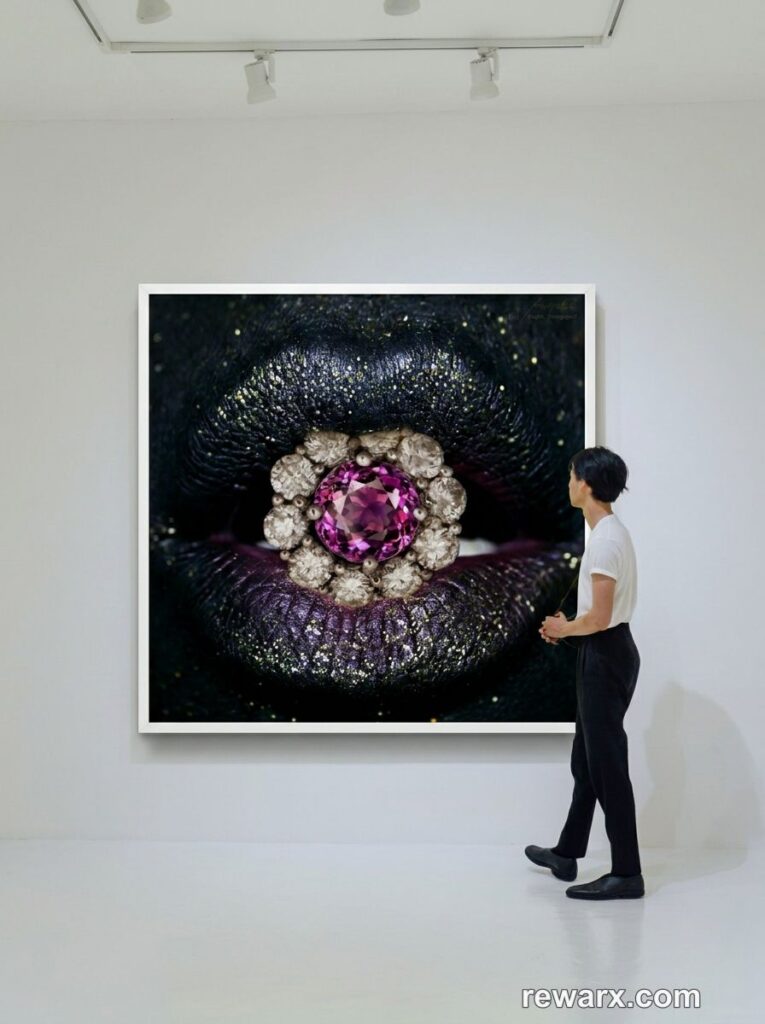
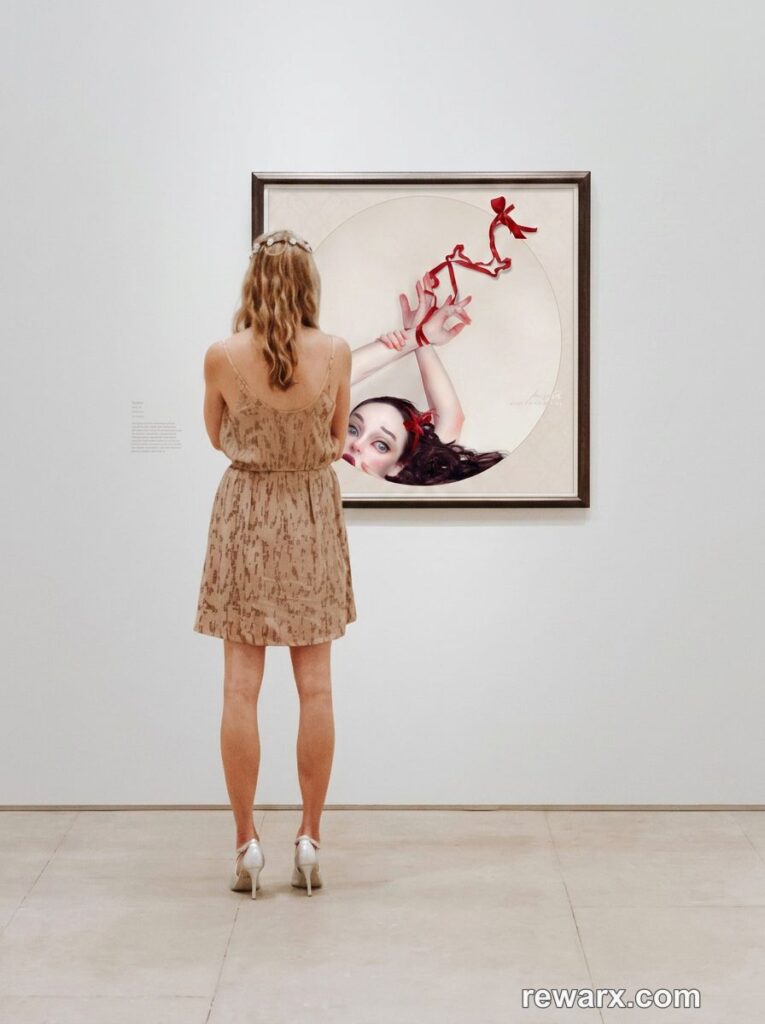
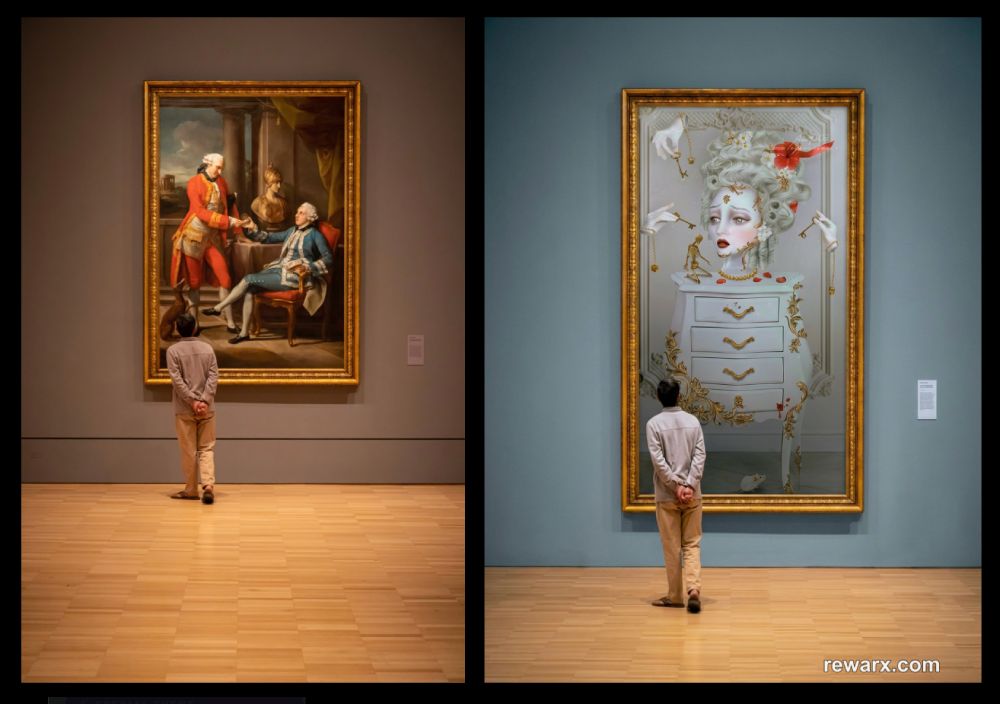
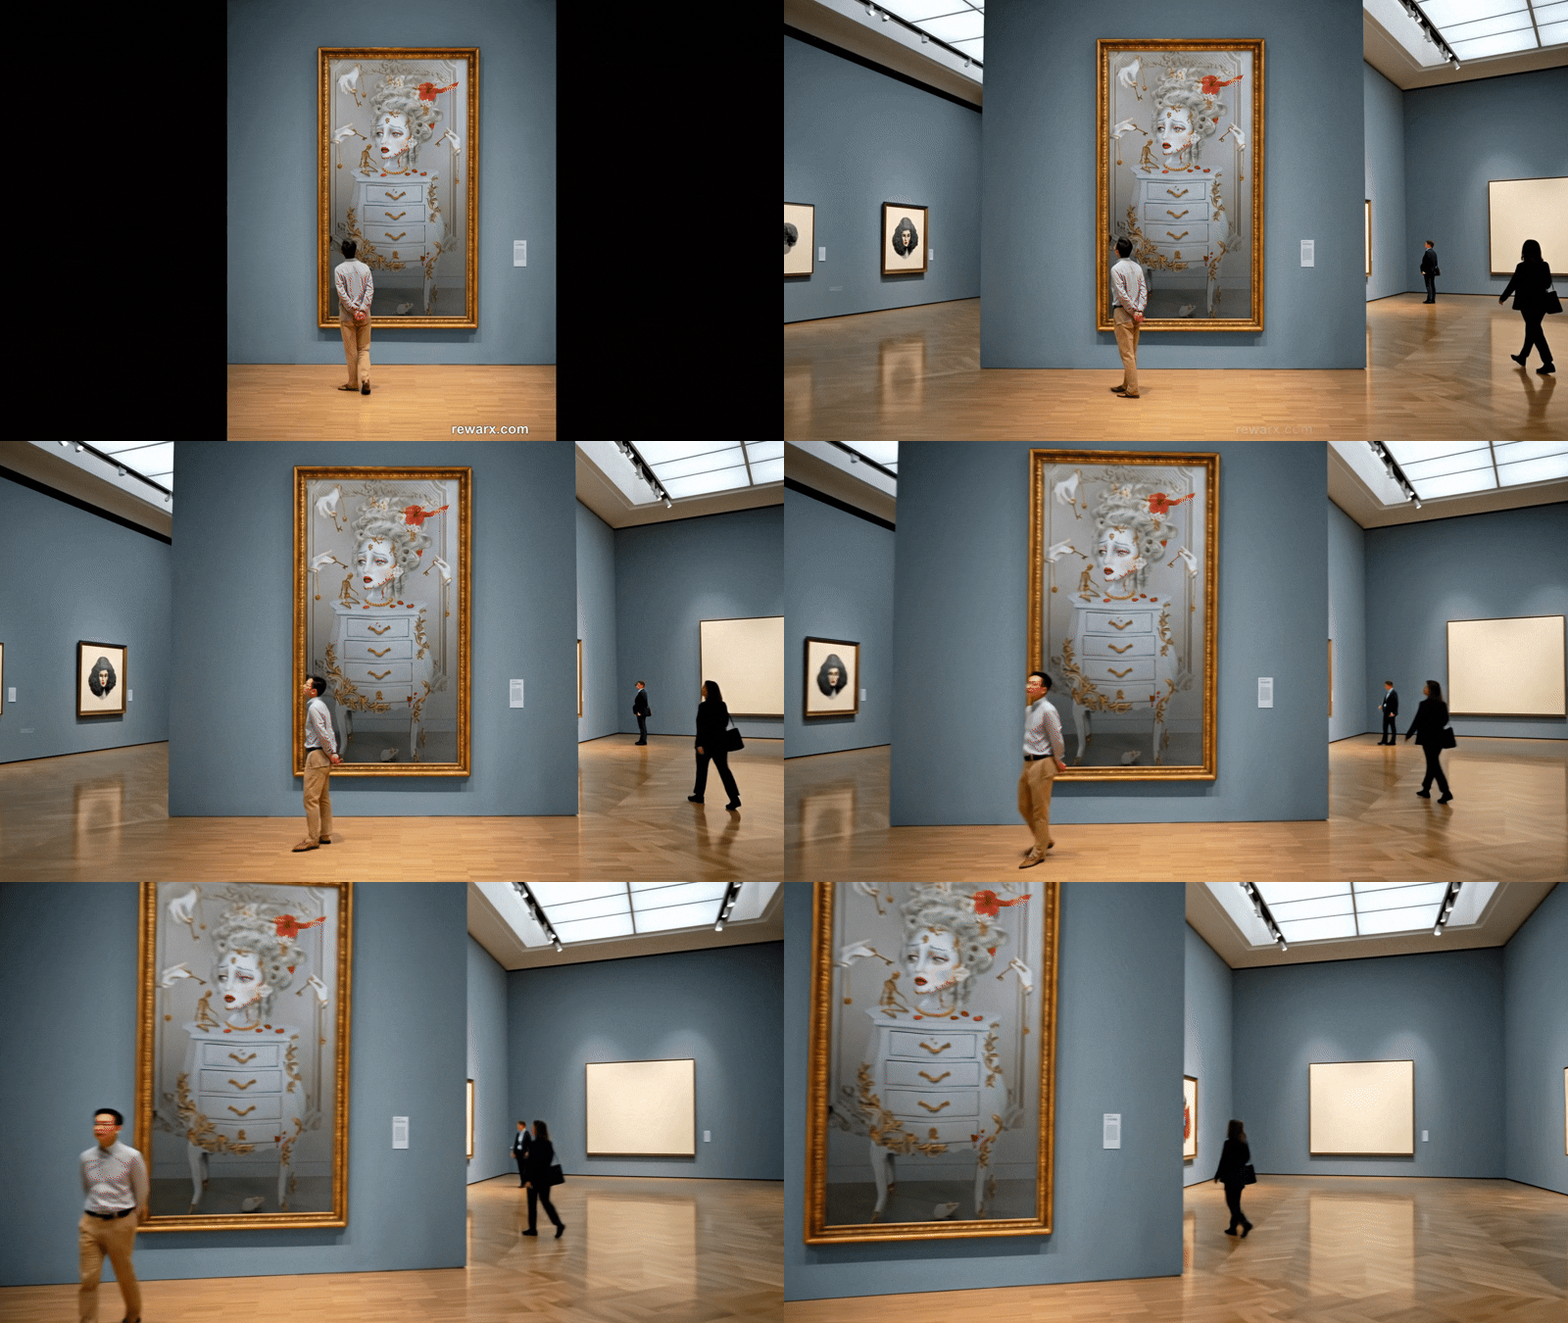
I love how the template-based wall art mockups came out. The results look absolutely realistic and people contemplating the artwork make the scenes feel much more engaging. It’s like seeing your artwork in a real gallery setting:
Mockup for “ST∆RRY NIGHT” generated with RewarxStudio based on image by Keriliwi on Unsplash
Mockup for “Naufragée” generated with RewarxStudio based on image by Alistair MacRobert on Unsplash
Even when the frame of the template has to be modified a lot to match the dimensions of my original artwork, RewarxStudio did an awesome job:
Mockup for “Keyla” generated with RewarxStudio based on image by Mitchell Luo on Unsplash
RewarxStudio Pricing
When you first sign up for free for RewarxStudio, you get 10 free credits to test the platform. Those free credits are enough to generate a number of mockups. What’s great is that you can also upscale and download your generated mockups for free!
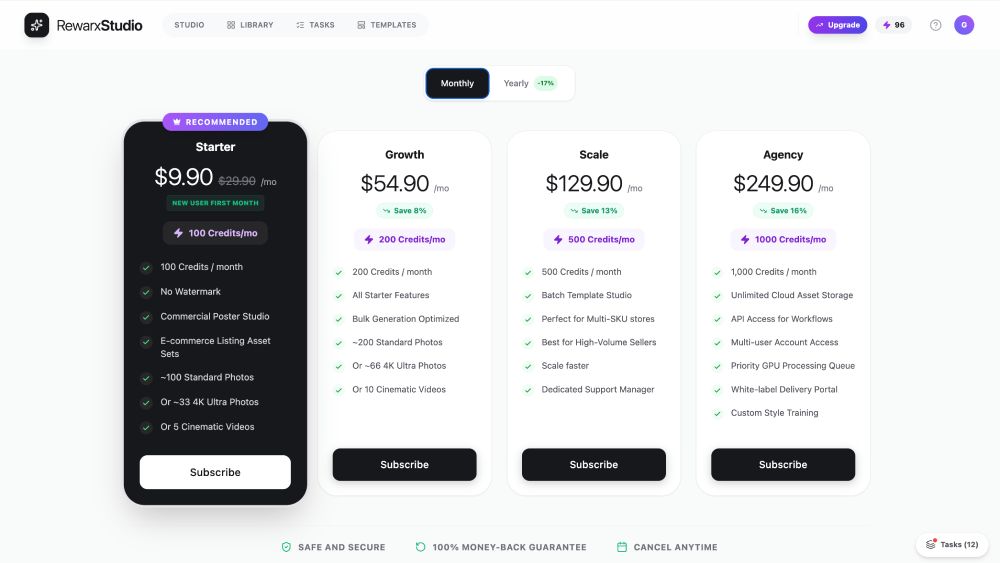
If you like RewarxStudio and want to continue creating mockups and other content, you can subscribe to the Starter Plan. It only costs $9.90 per month and gives you 200 credits every month—enough to generate around 100 standard images, around 33 4k high-resolution photos, or 5 cinematic videos.
To get double everything, plus optimized bulk generation, there’s the Growth Plan at $54.90 per month. Both plans remove the watermark on downloaded content and allow it for commercial use.
RewarxStudio comes with affordable pricing plans
Frequently Asked Questions
What software is best for creating mockups?
As I already mentioned above, I’ve recently tested more than a dozen tools to pick out the 4 best wall art mockup generators for artists. I tested each tool with the same set of artworks and prompts.
Based on my results, here's my rundown of the best software for creating mockups:
RewarxStudio consistently provided the best results. The generated wall art mockups are photorealistic and ecommerce-ready, while the interface provides exceptional control over scene design, camera angles, and artwork placement. Even simple prompts create amazing results.
WaveSpeed AI gives you access to multiple state-of-the-art AI image models to create photorealistic wall art mockups and the ability to turn your artwork into videos, all from a single platform. It’s very affordable, with a pay-per-item pricing model that keeps costs low and doesn’t require a subscription.
PixVerse AI lets you generate beautiful, photorealistic wall art mockups with a range of state-of-the-art AI models, too. However, prompts need to be very detailed to obtain good results. But you get excellent value if you also need advanced AI video generation, as the platform offers both in one place.
Canva is a good choice if you want to create professional-looking wall art mockups quickly and without any learning curve. However, if you need unique interiors, more customization and creative control, AI-powered mockup generators are a better fit.
» You can read my full, in-depth wall art mockup generator review here.
Is there a free mockup generator?
There are free mockup generators, but they usually come with trade-offs.
Fully free tools like Canva’s template-based option let you create simple wall art mockups without cost. They’re easy to use, but you’re limited to pre-made templates that offer less realistic environments and little creative editing flexibility.
A better choice is a freemium AI mockup generator that lets you generate a limited number of high-quality mockups for free before hitting a paywall.
Freemium tools tend to offer much better realism and more creative freedom. Many work with advanced AI image models that allow you to generate complex scenes with simple prompts.
All tools on the list below offer free plans that allow you to test the platform and generate a number of wall art mockups: